Getting Started with SecretSafe Organizations
- Introduction
- Set up the First and Second User Accounts
- Setup and Share with Organizations
- Continuing with SecretSafe
Introduction
Using a password manager makes it easy to store and access unique and secure passwords across all of your devices. This keeps your online accounts safer than repeating passwords or leaving them exposed in unencrypted formats like spreadsheets, documents, or sticky notes!
To get even more out of your password manager, you can collaborate and share with others. At work, you may choose to share common logins to office wifi networks and online services, or a shared company credit card, or a set of secure notes. Personally you may choose to share a few passwords with a significant other.
SecretSafe enables all types of password and secure sharing through Organizations.
This tutorial walks you through the setup for two accounts and sharing in an Organization.
What are organizations?
A SecretSafe organization is an entity that relates users together that want to share items. An organization could be a family, team, company, or any other type of group that desires to share items in SecretSafe.
For more, please see What are organizations?.
Set up the First and Second User Accounts
1. Create an account for User 1
Create the first account by starting at https://secretsafe.rayt.io Pick a strong master password and write it down in a safe place.
The SecretSafe security model does not support master password recovery. You can read more in the help article I forgot my master password
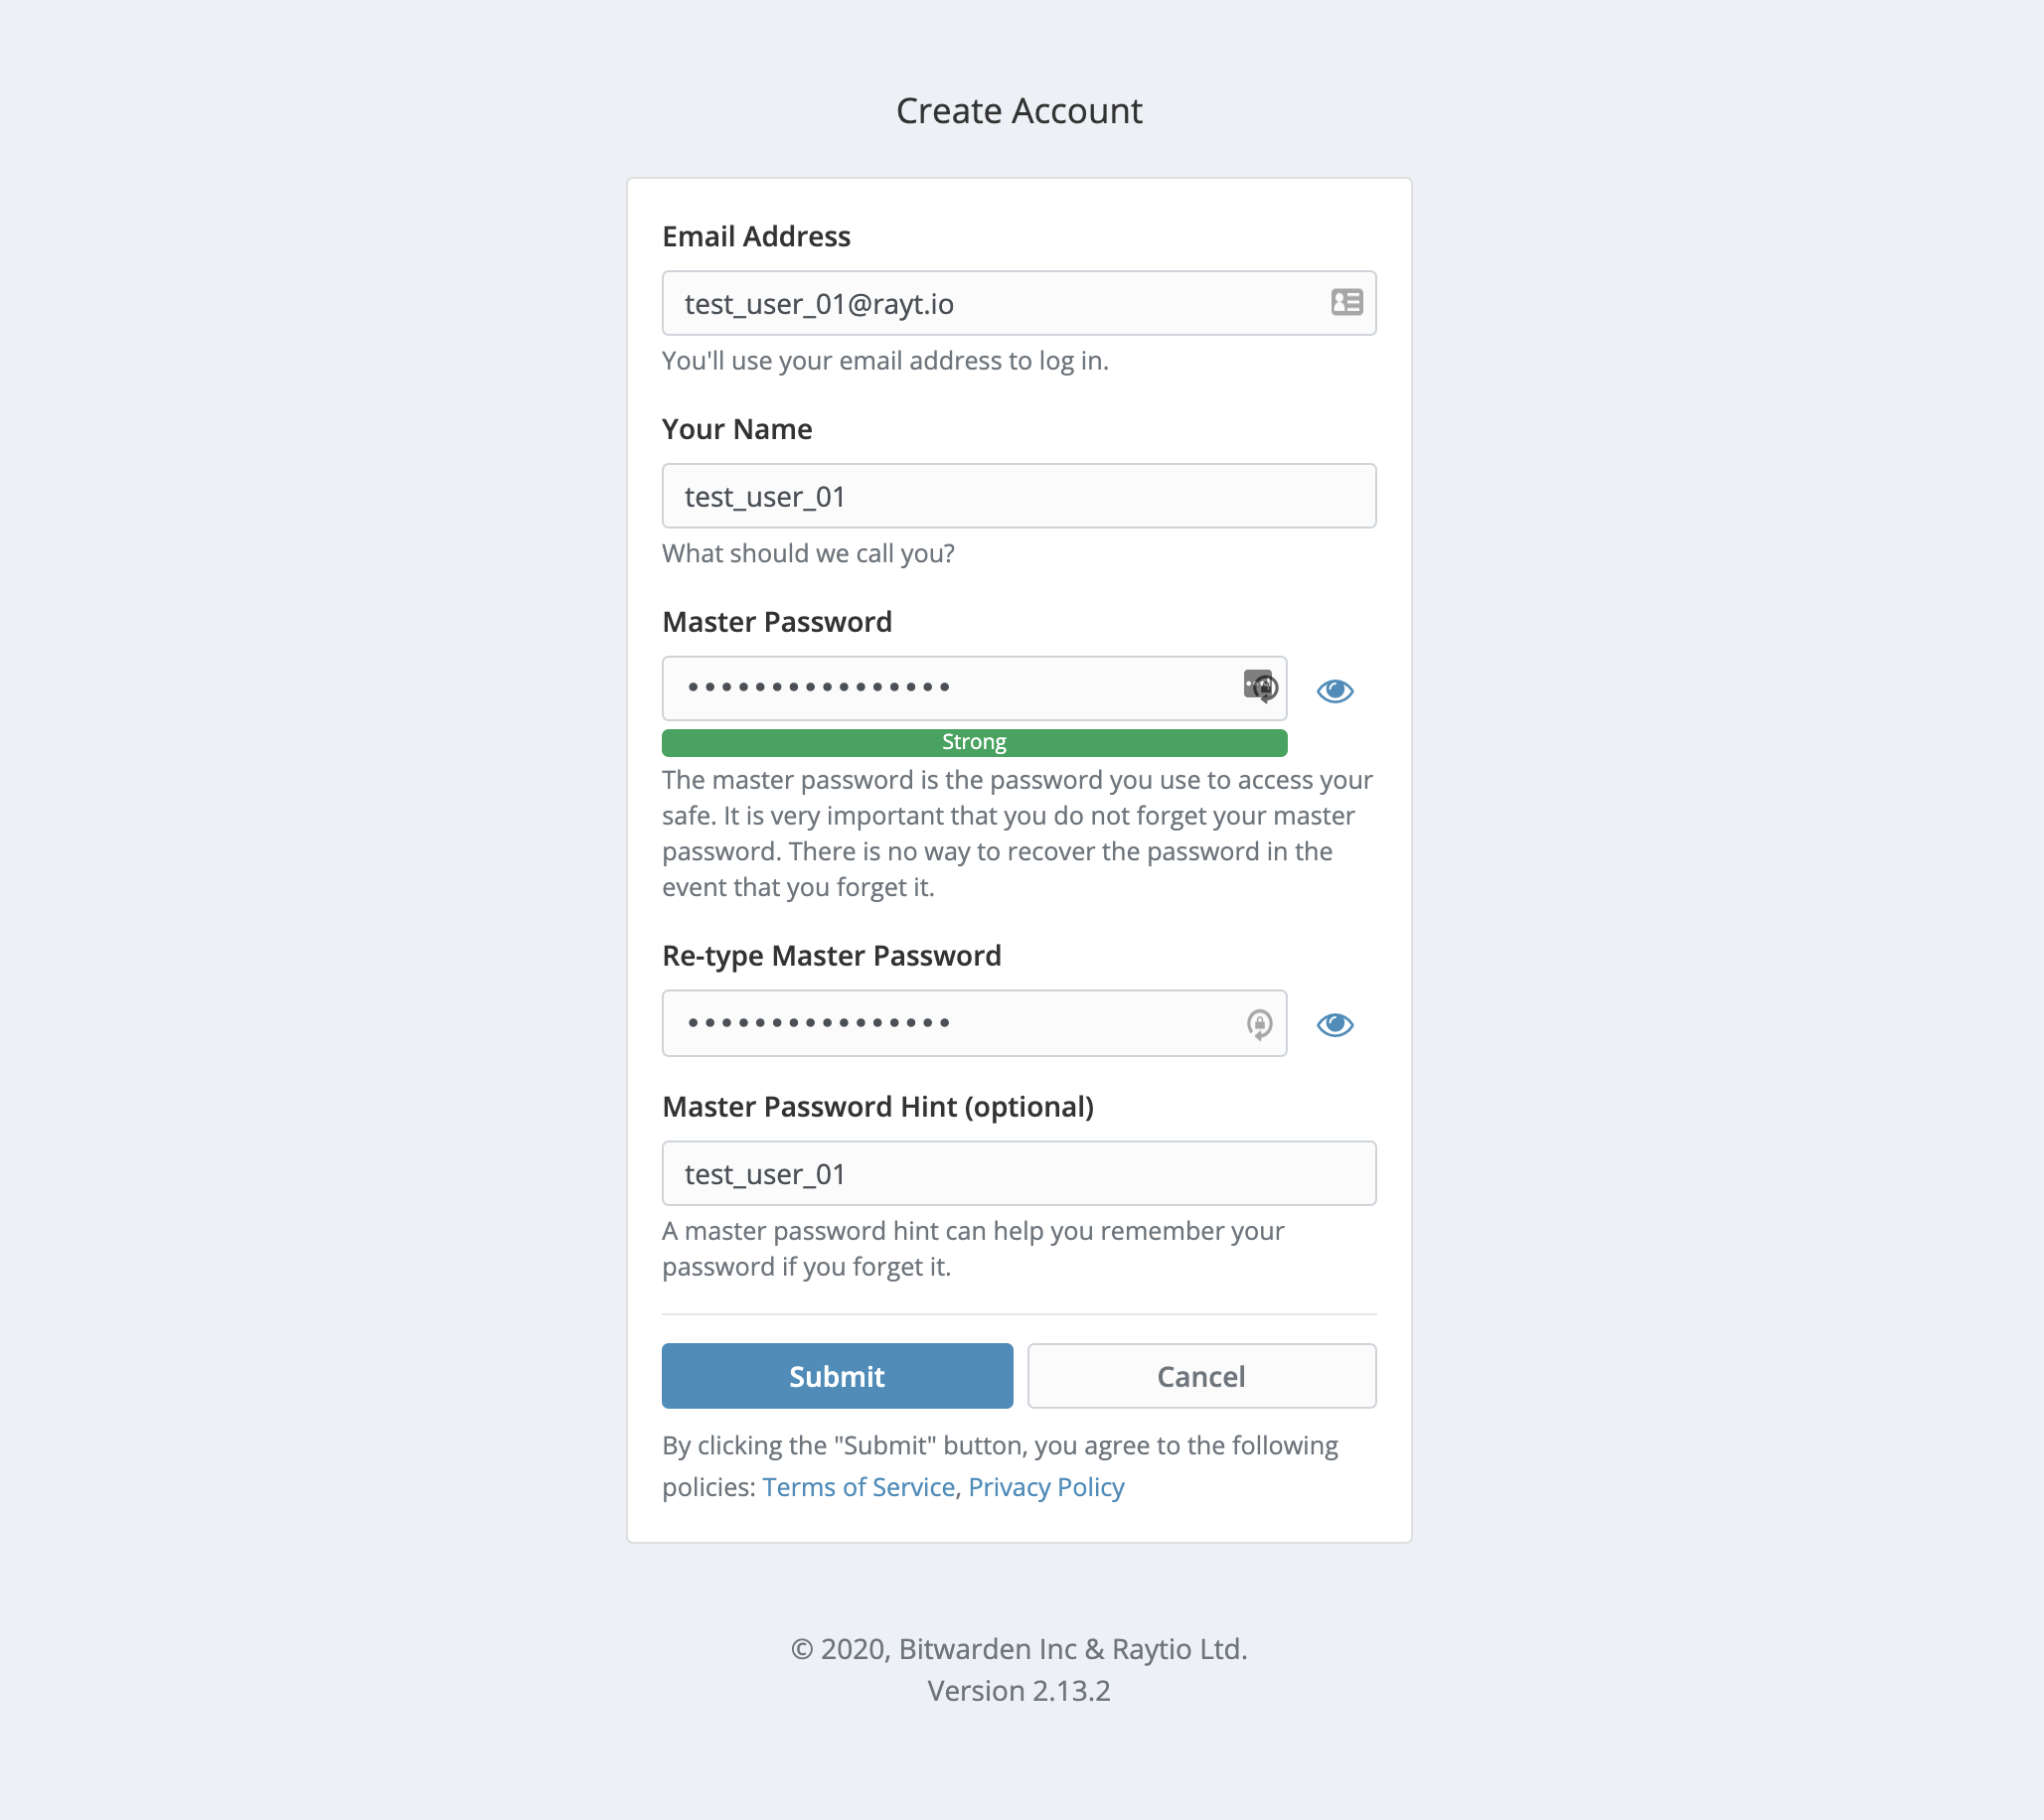 Create account for user 1
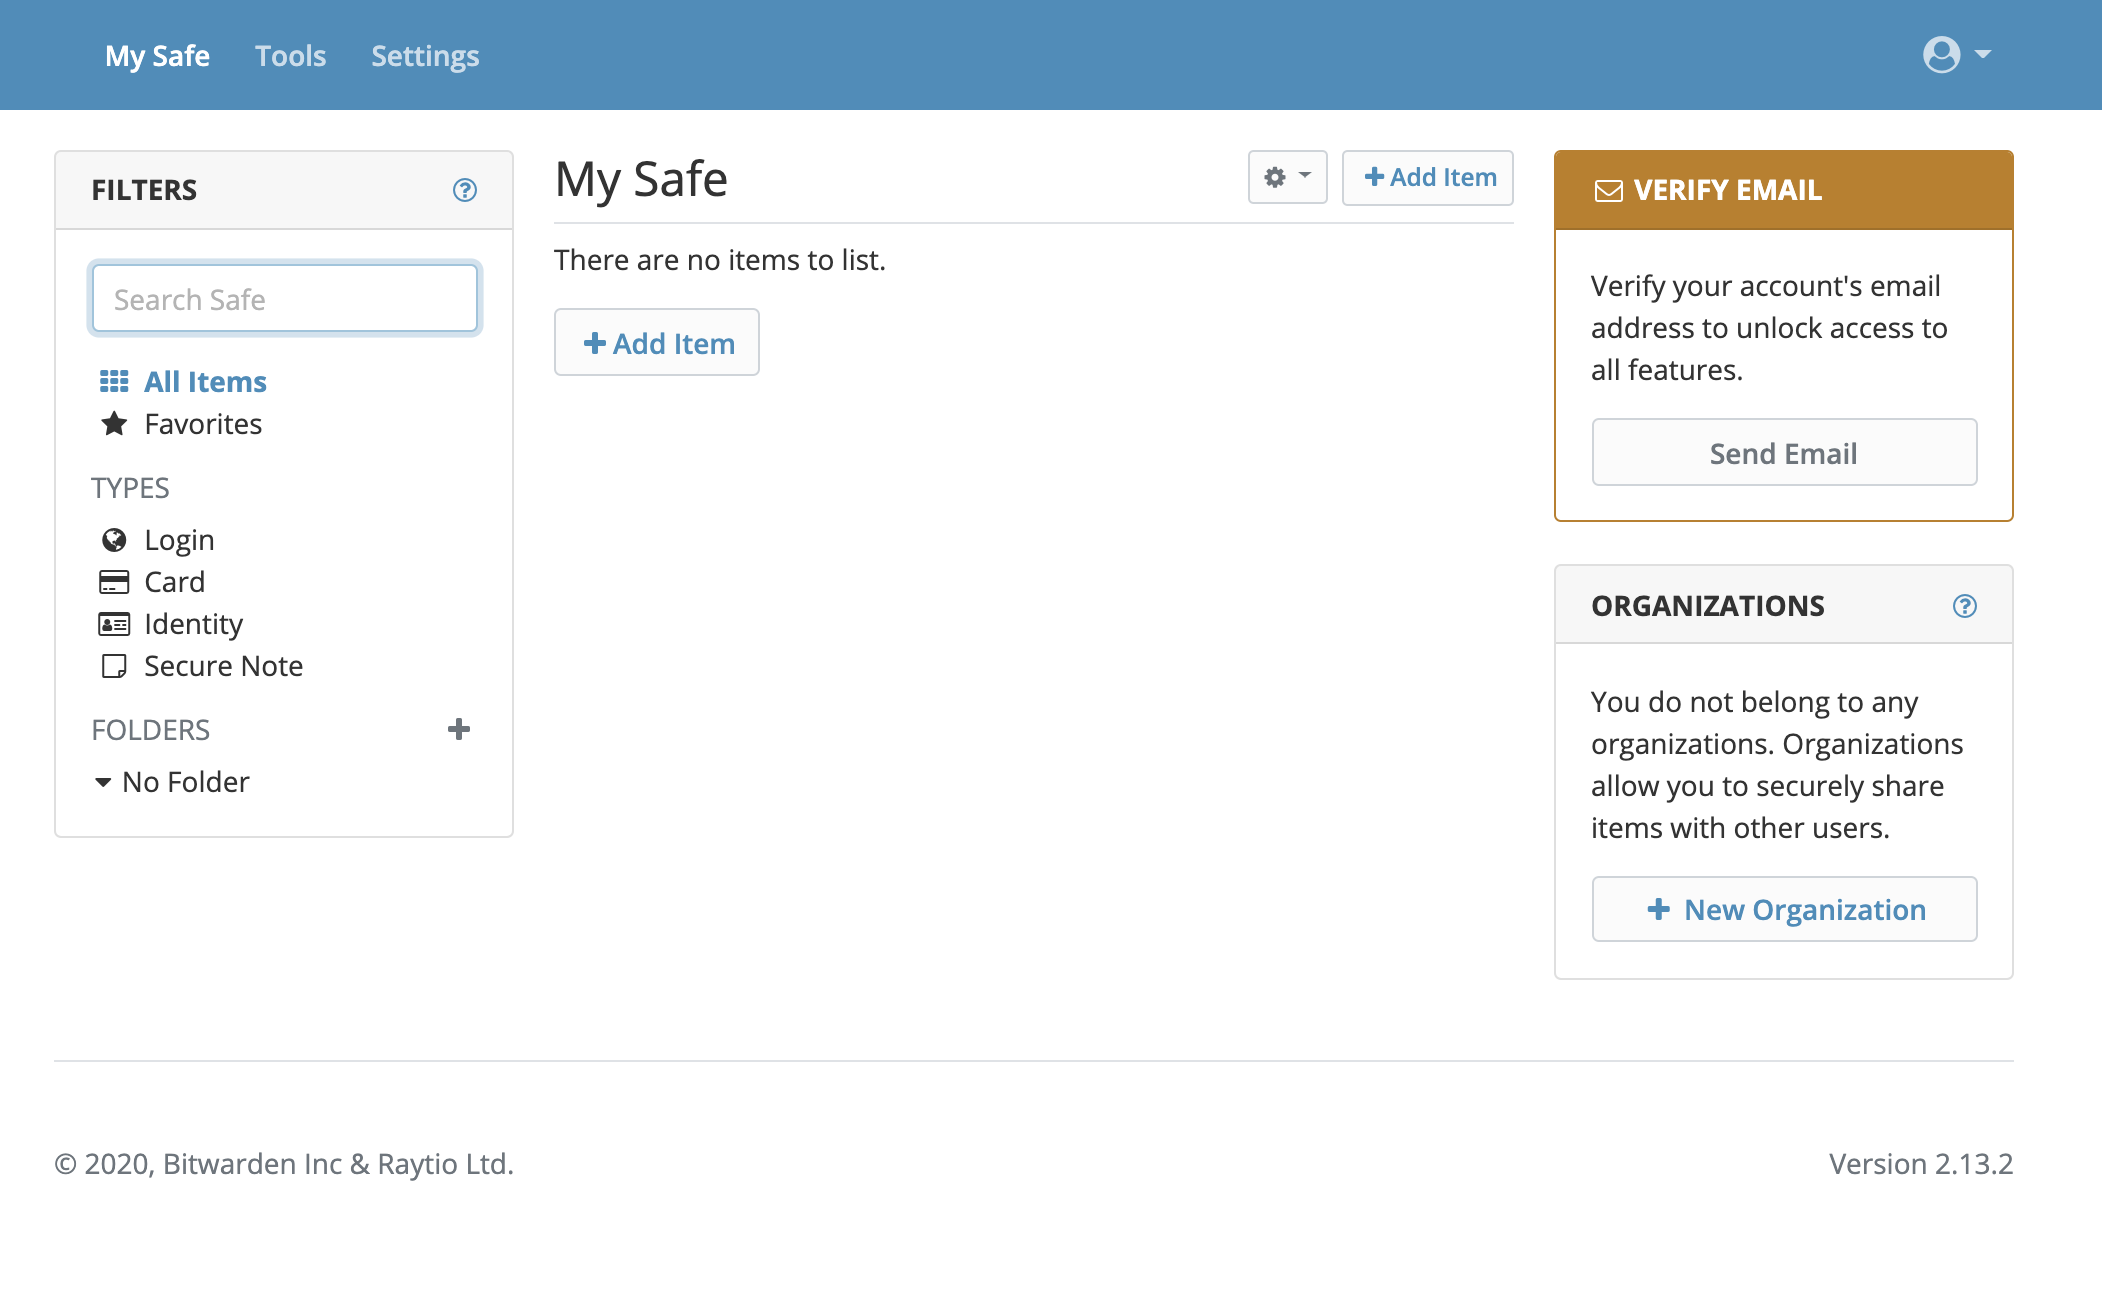
2. Verify Your Email
After you create the account and log in, you will want to verify your email.
Reminder: You will also want to make sure your master password is written down and in a safe place where you can find it.
 Verify your email
Once your email is verified you will be back to the main screen of the web safe.
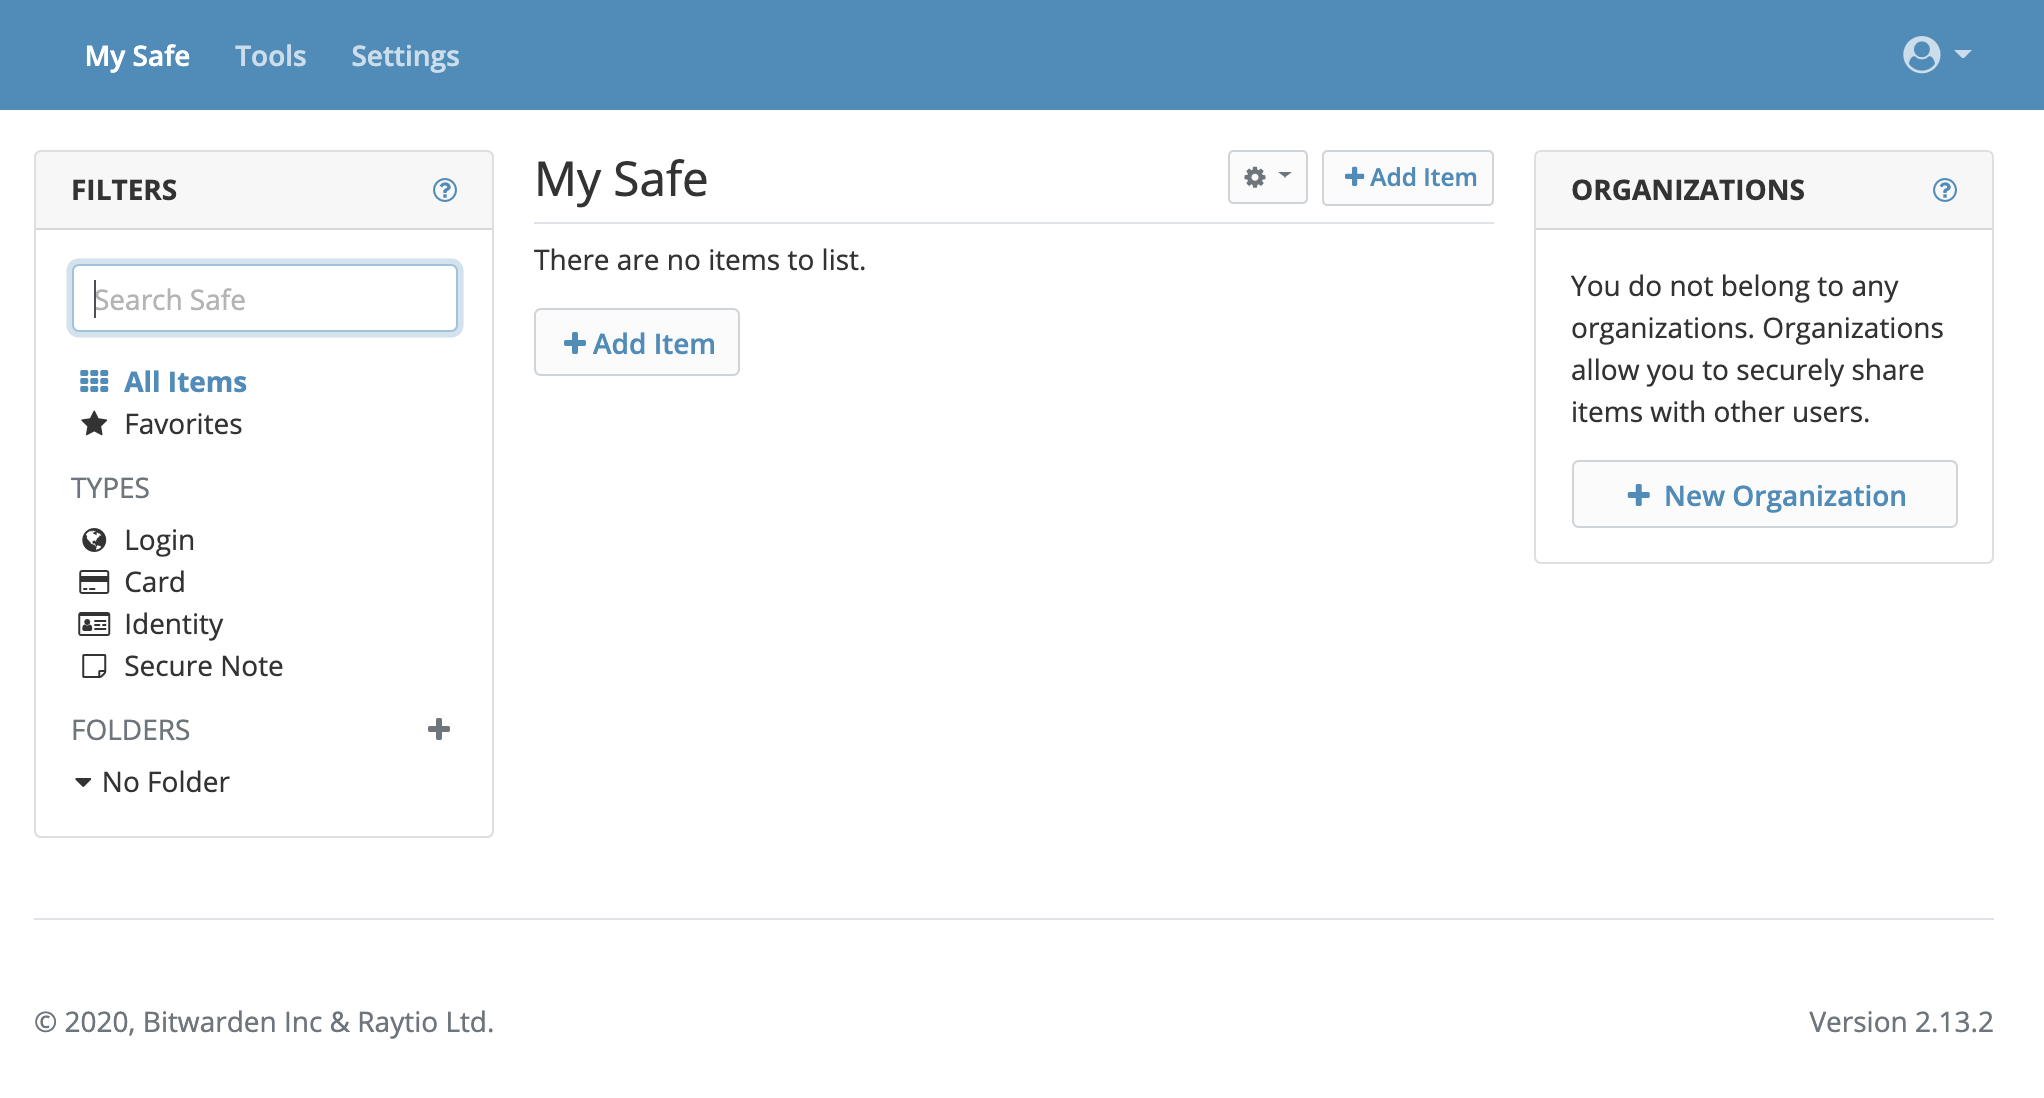 Email verified
3. Set up the Second User Account
Follow the same procedures to set up the second account. In our case, we will use gotest+2@secretsafe.com for that.
Setup and Share with Organizations
4. Create a new Organization
Next create a new Organization via the New Organization button on the right of the screen.
Identify your Organization name, billing name, and plan. In this case we are choosing the free plan which supports 2 users and 2 collections of items.
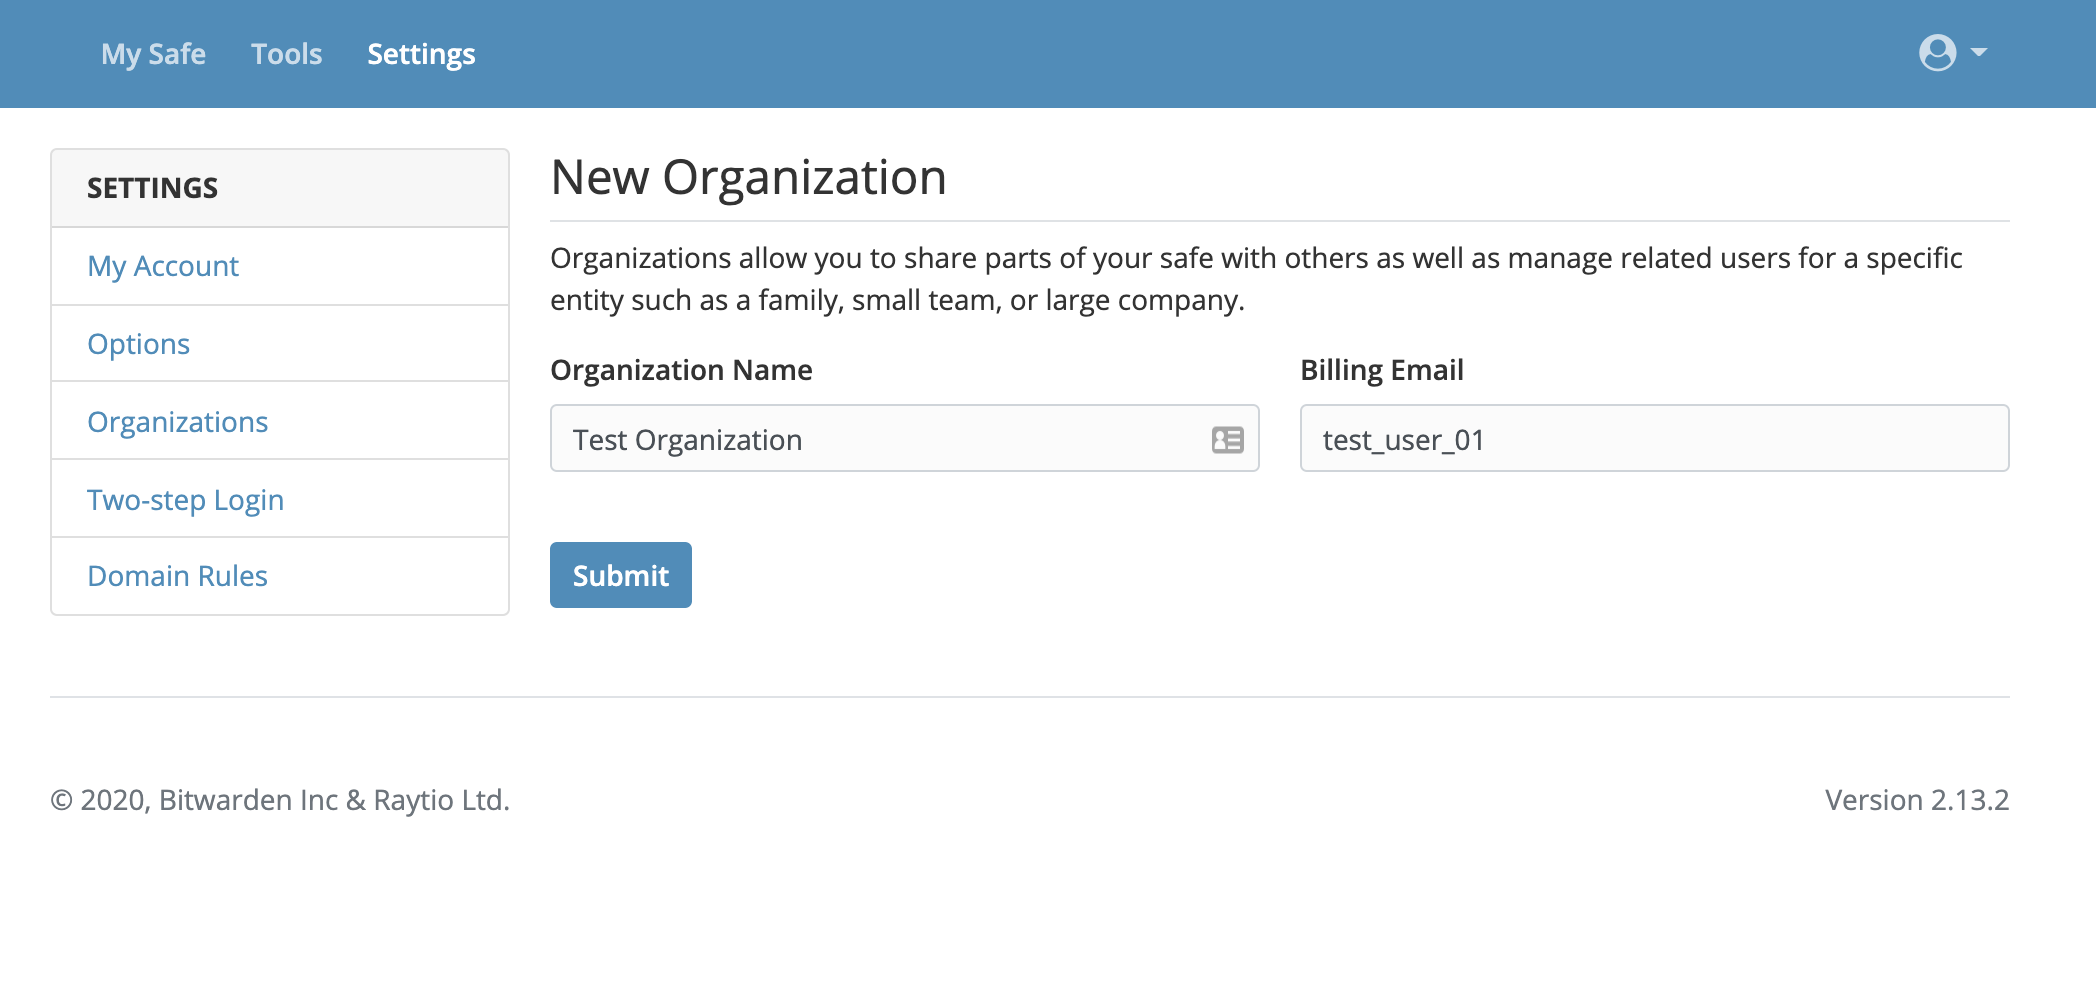 Creating a new Organization
There are additional choices for family, teams, and Organizations on this page.
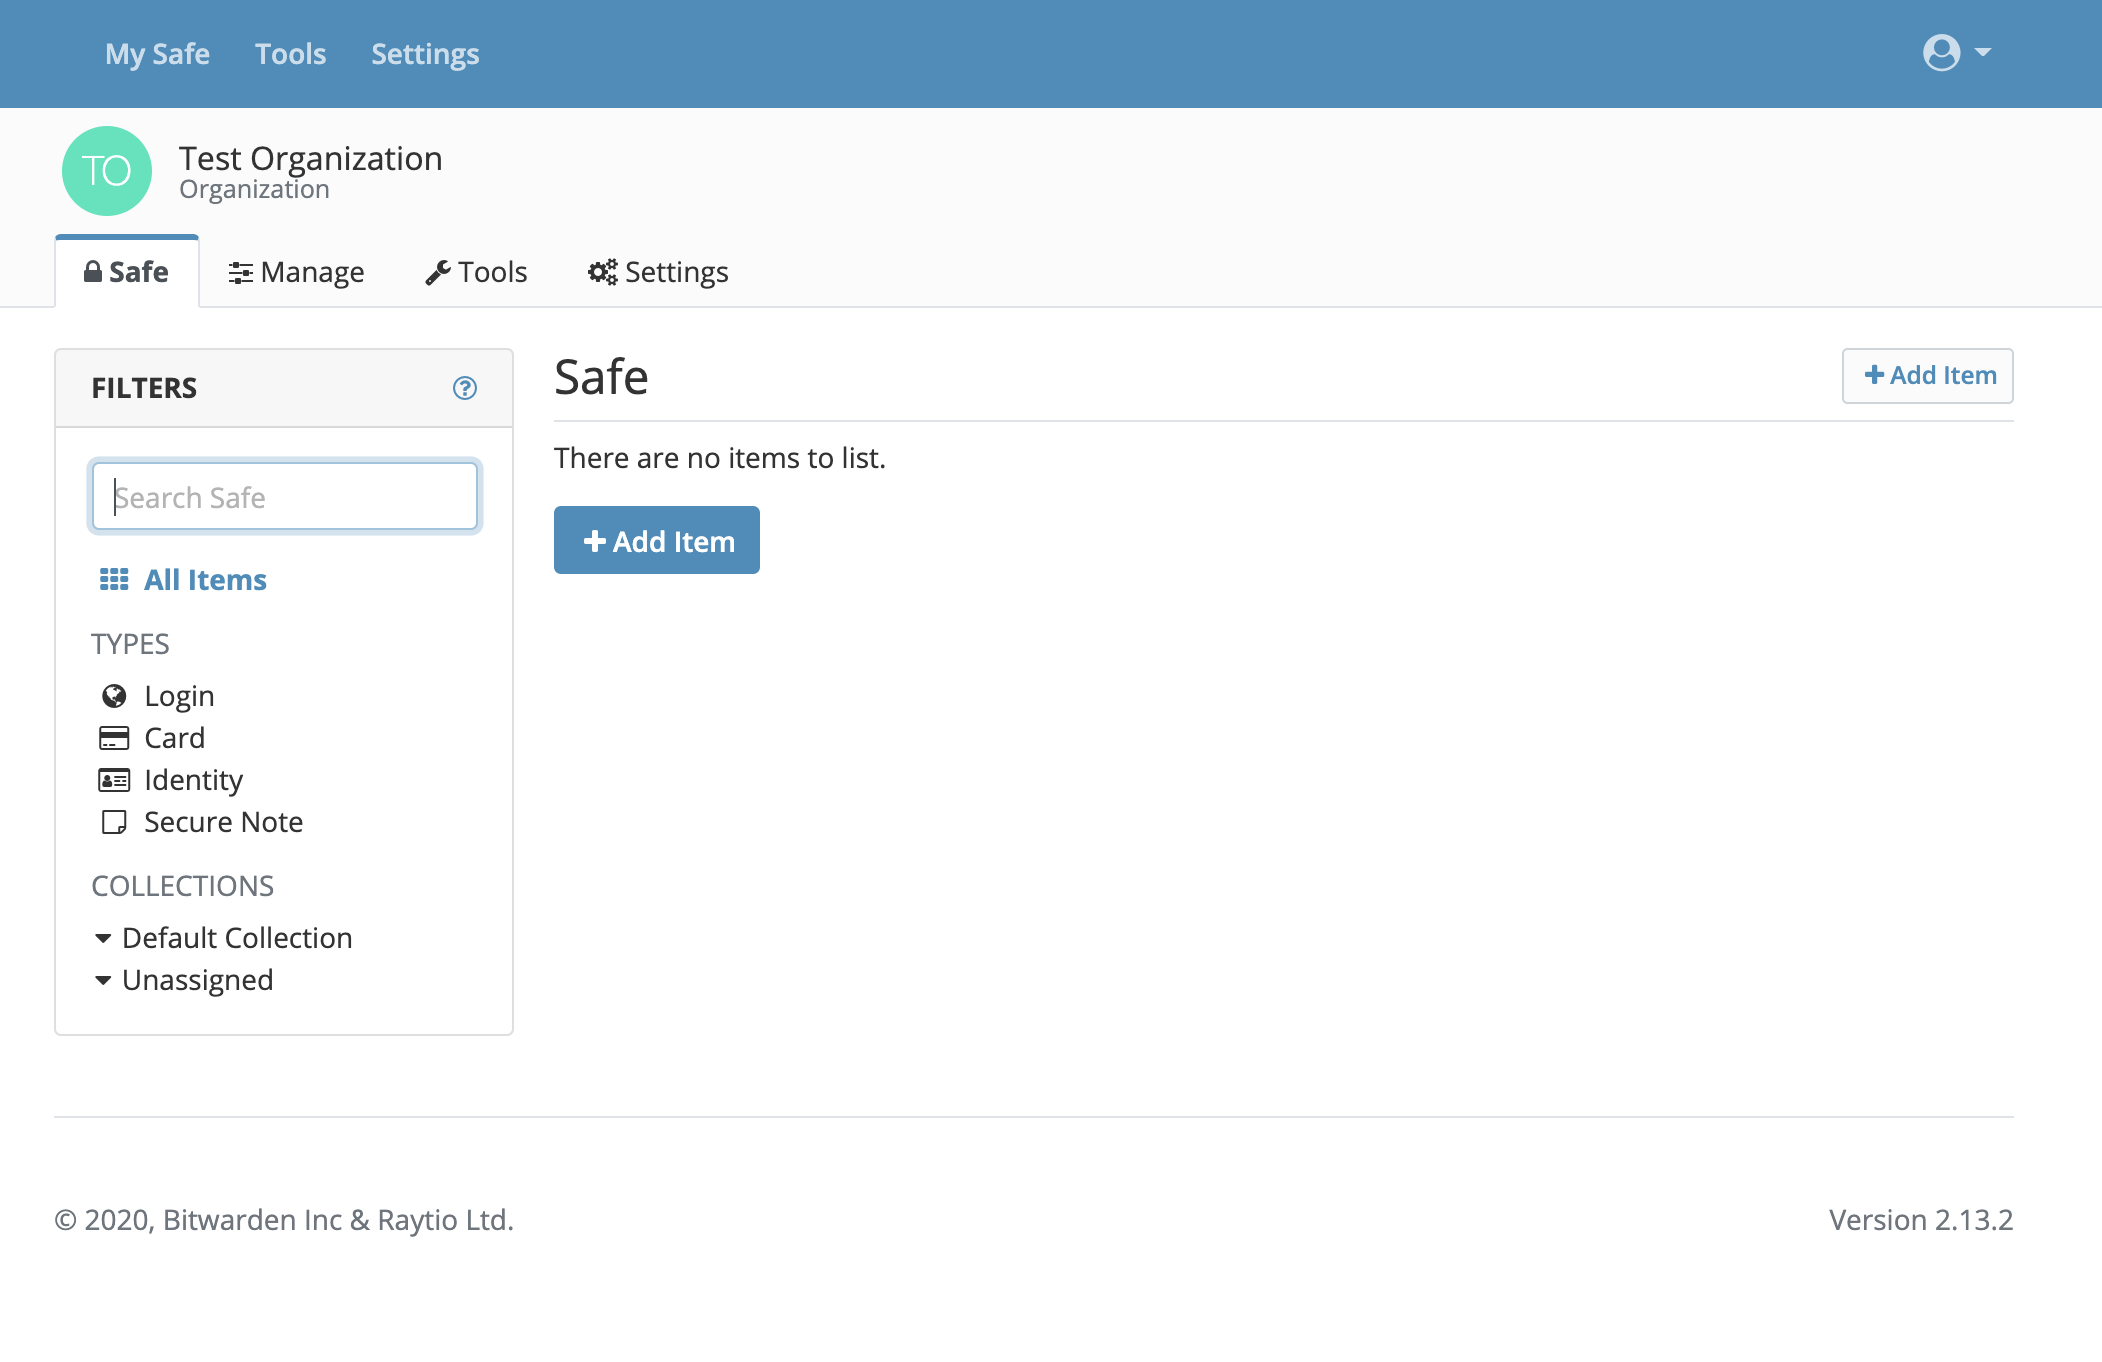
After creating your Organization you will be placed into your Organization’s safe.
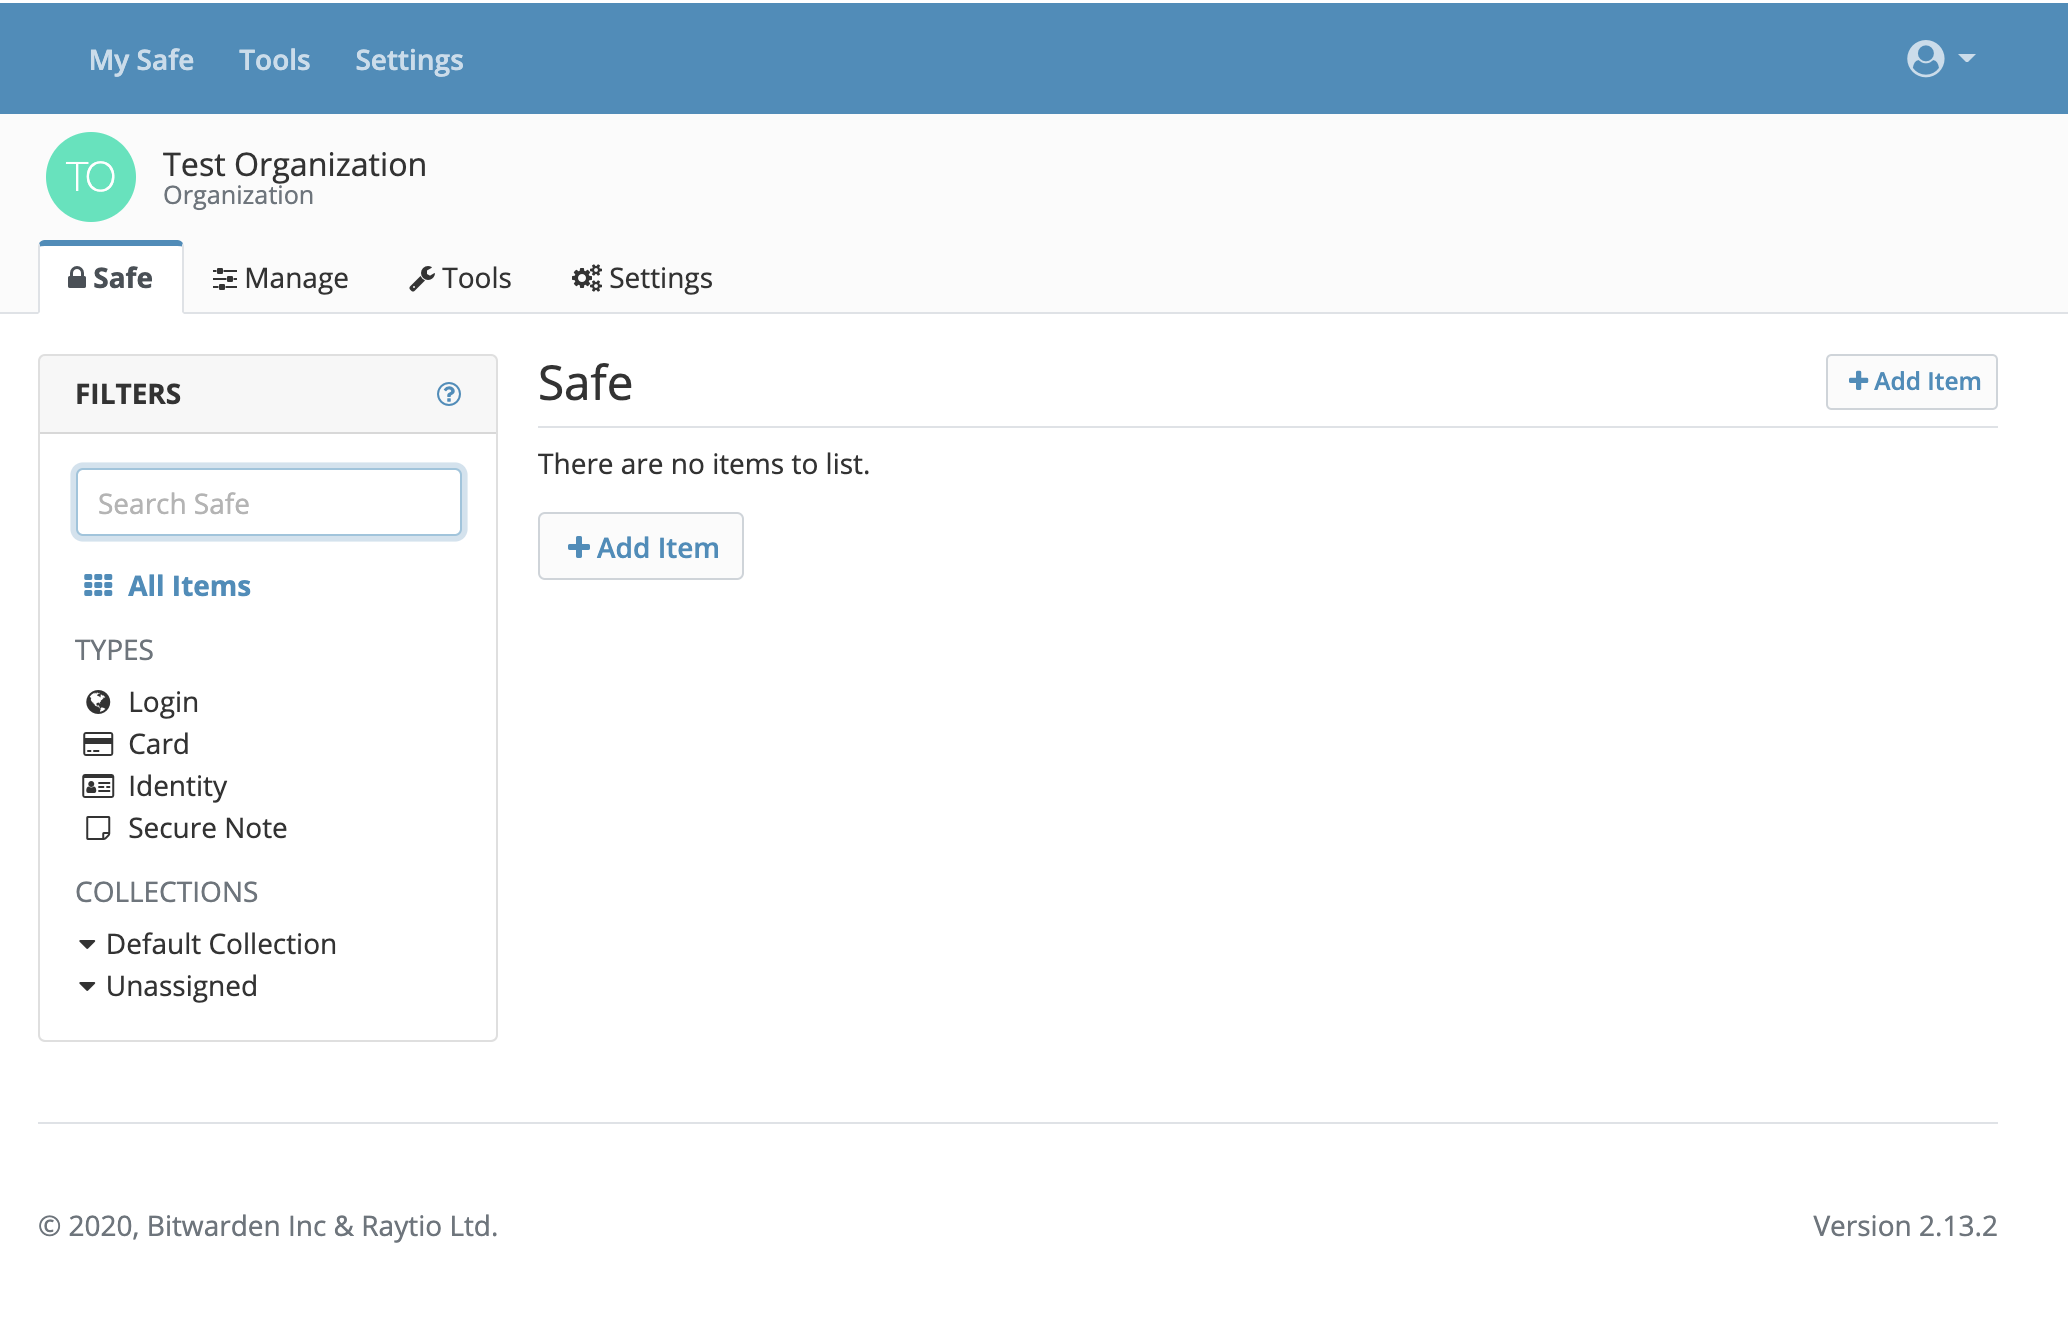 View of the Organization Safe
Be aware that you are now in the context of the Organization as shown above, in our case GOTEST Organization.
However you can get back to your own personal safe at any time by clicking My Safe at the top of the page.
Notice that we now have Collections on the left hand side which represent the logical structure of grouping items for your Organization. Here we have a Default Collection and one Unassigned Collection which is the second one allowed with the SecretSafe free Organization plan.
When we move back to our personal safe, we’ll see that we have Folders on the left which are for our personal items, and Collections for our Organization items.
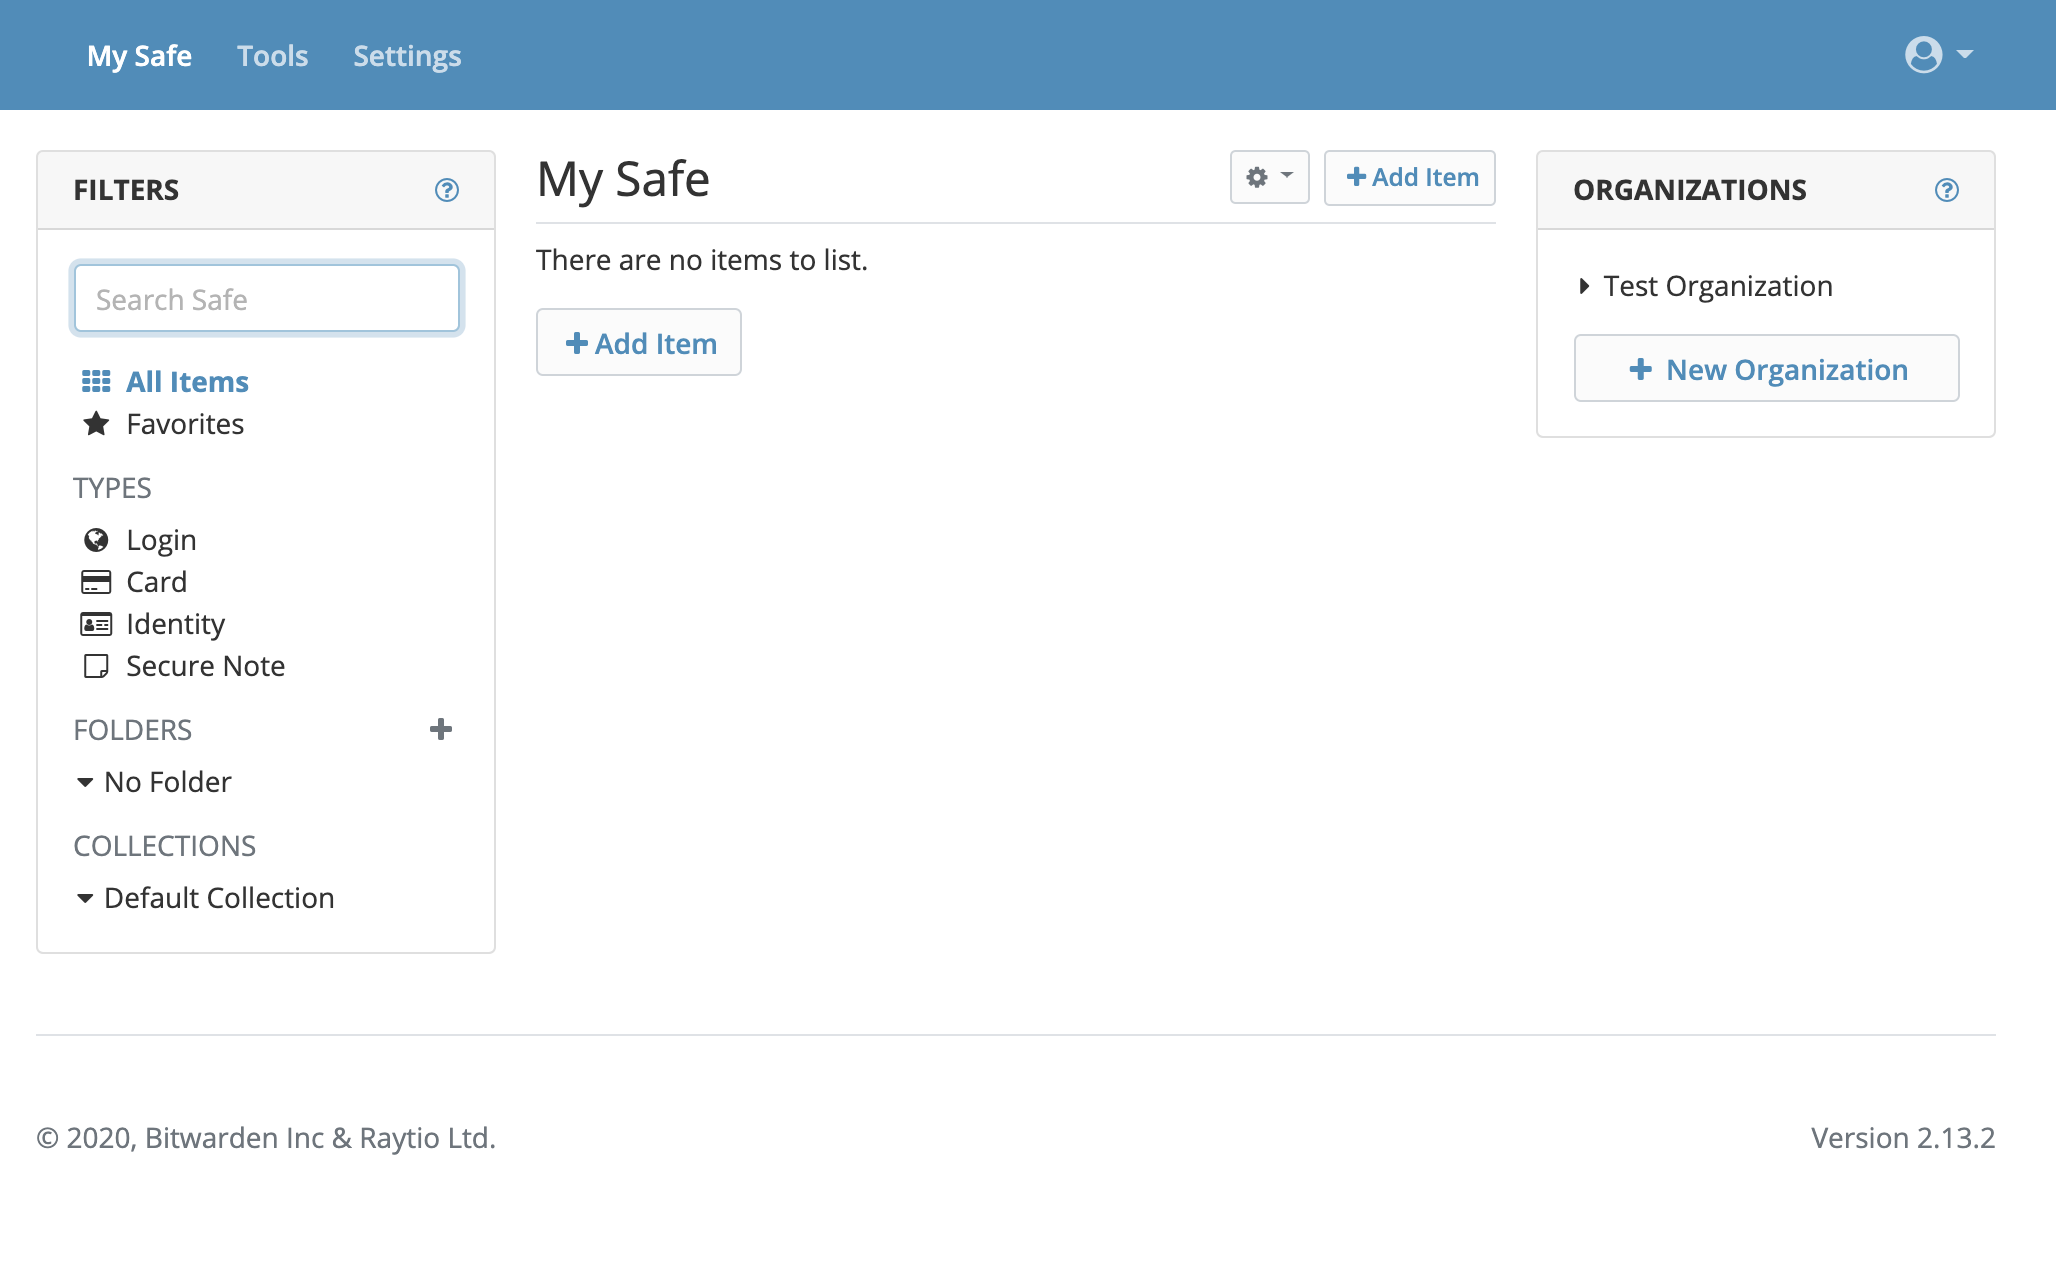 View of the Personal Safe
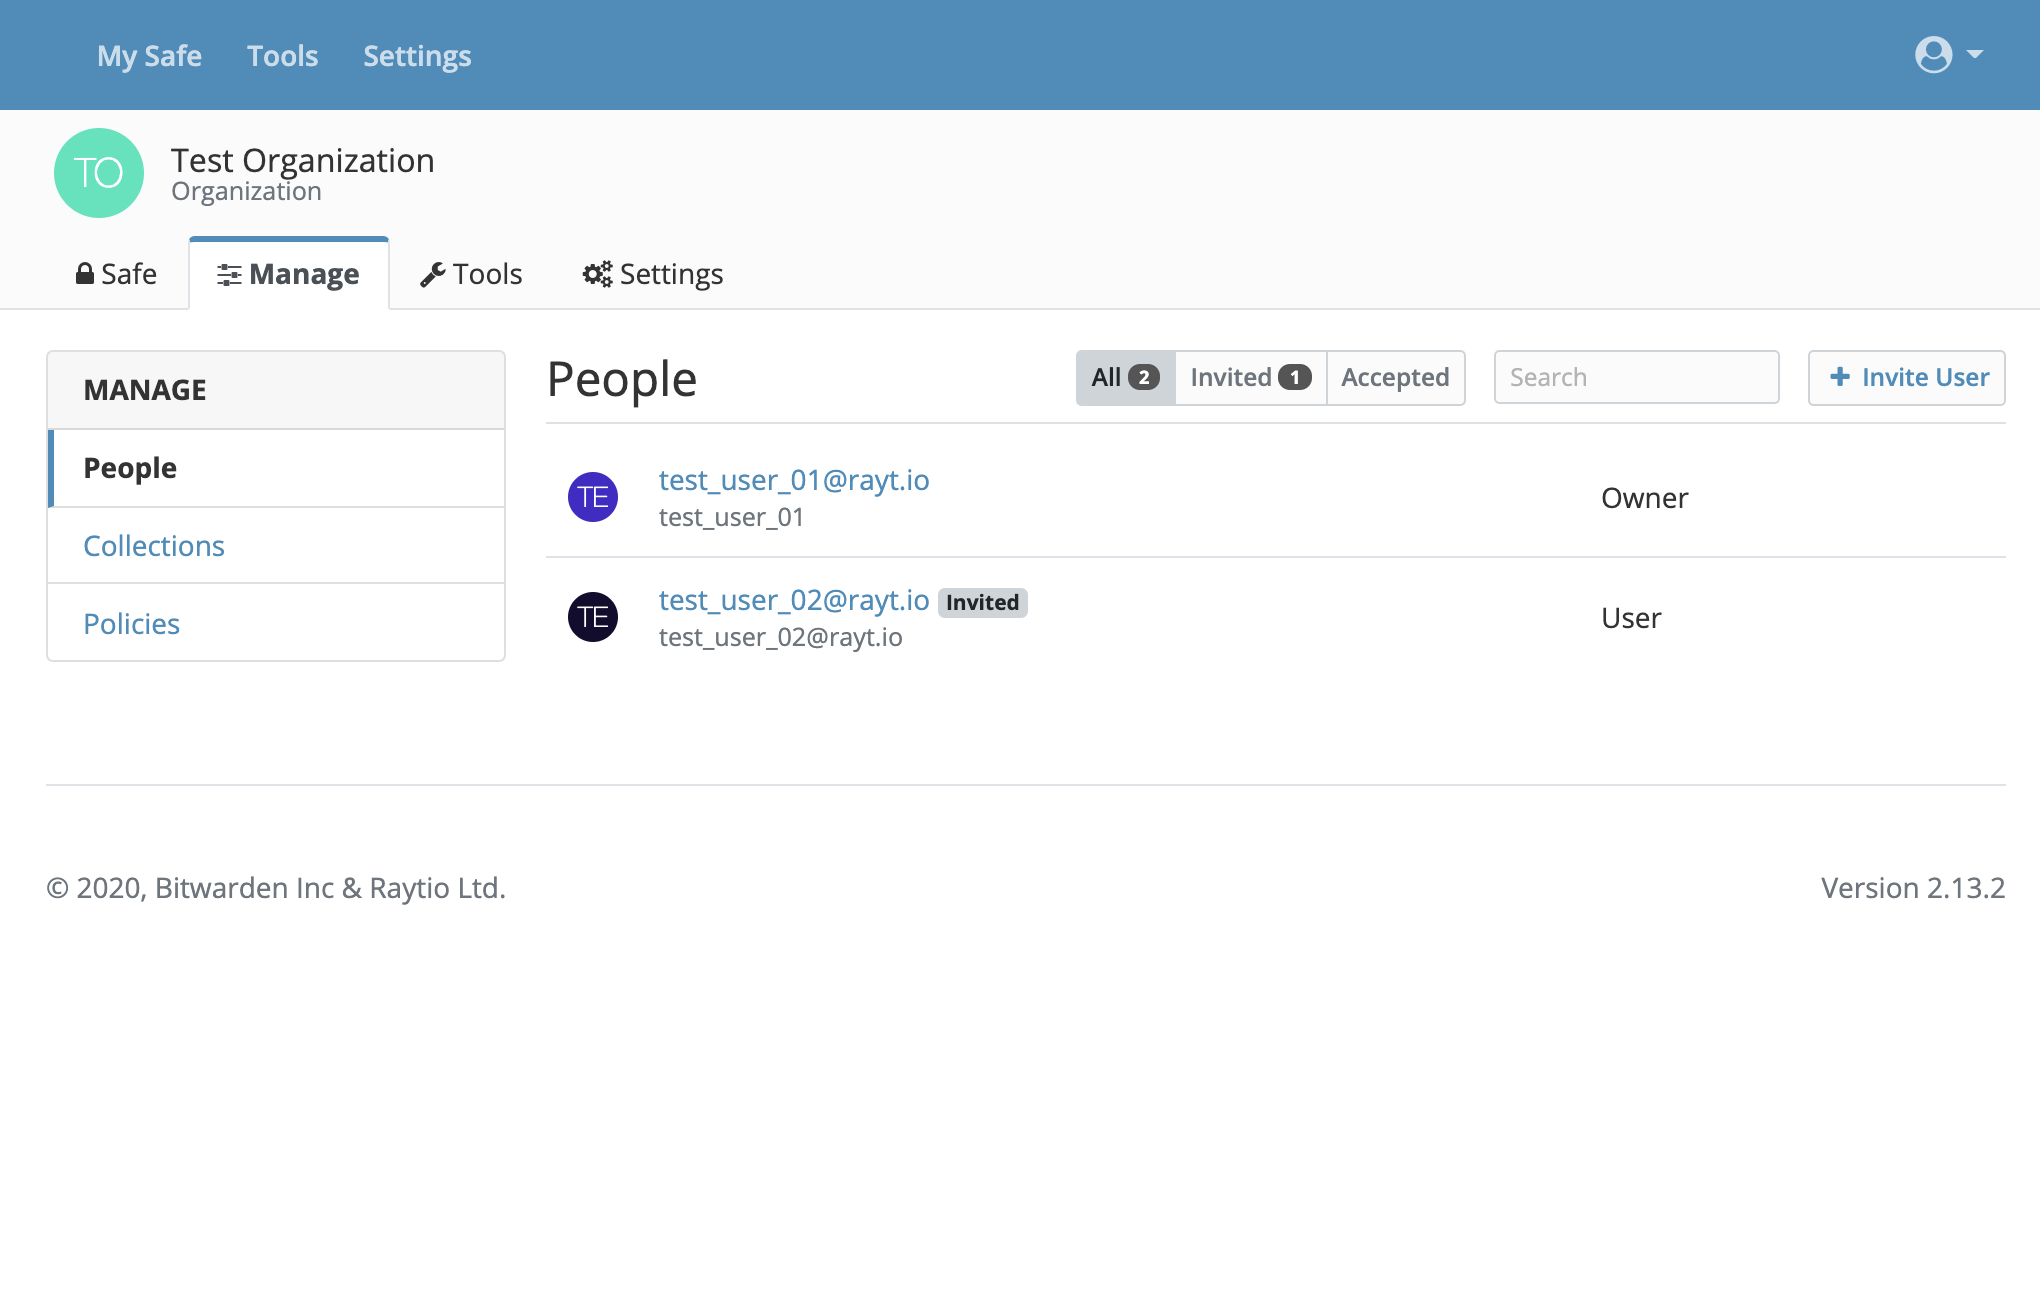
5. Add the Second User to your Organization
Now it is time to add a second user from our Organization admin console, in our case we click back on GOTEST Organization and then the Manage tab.
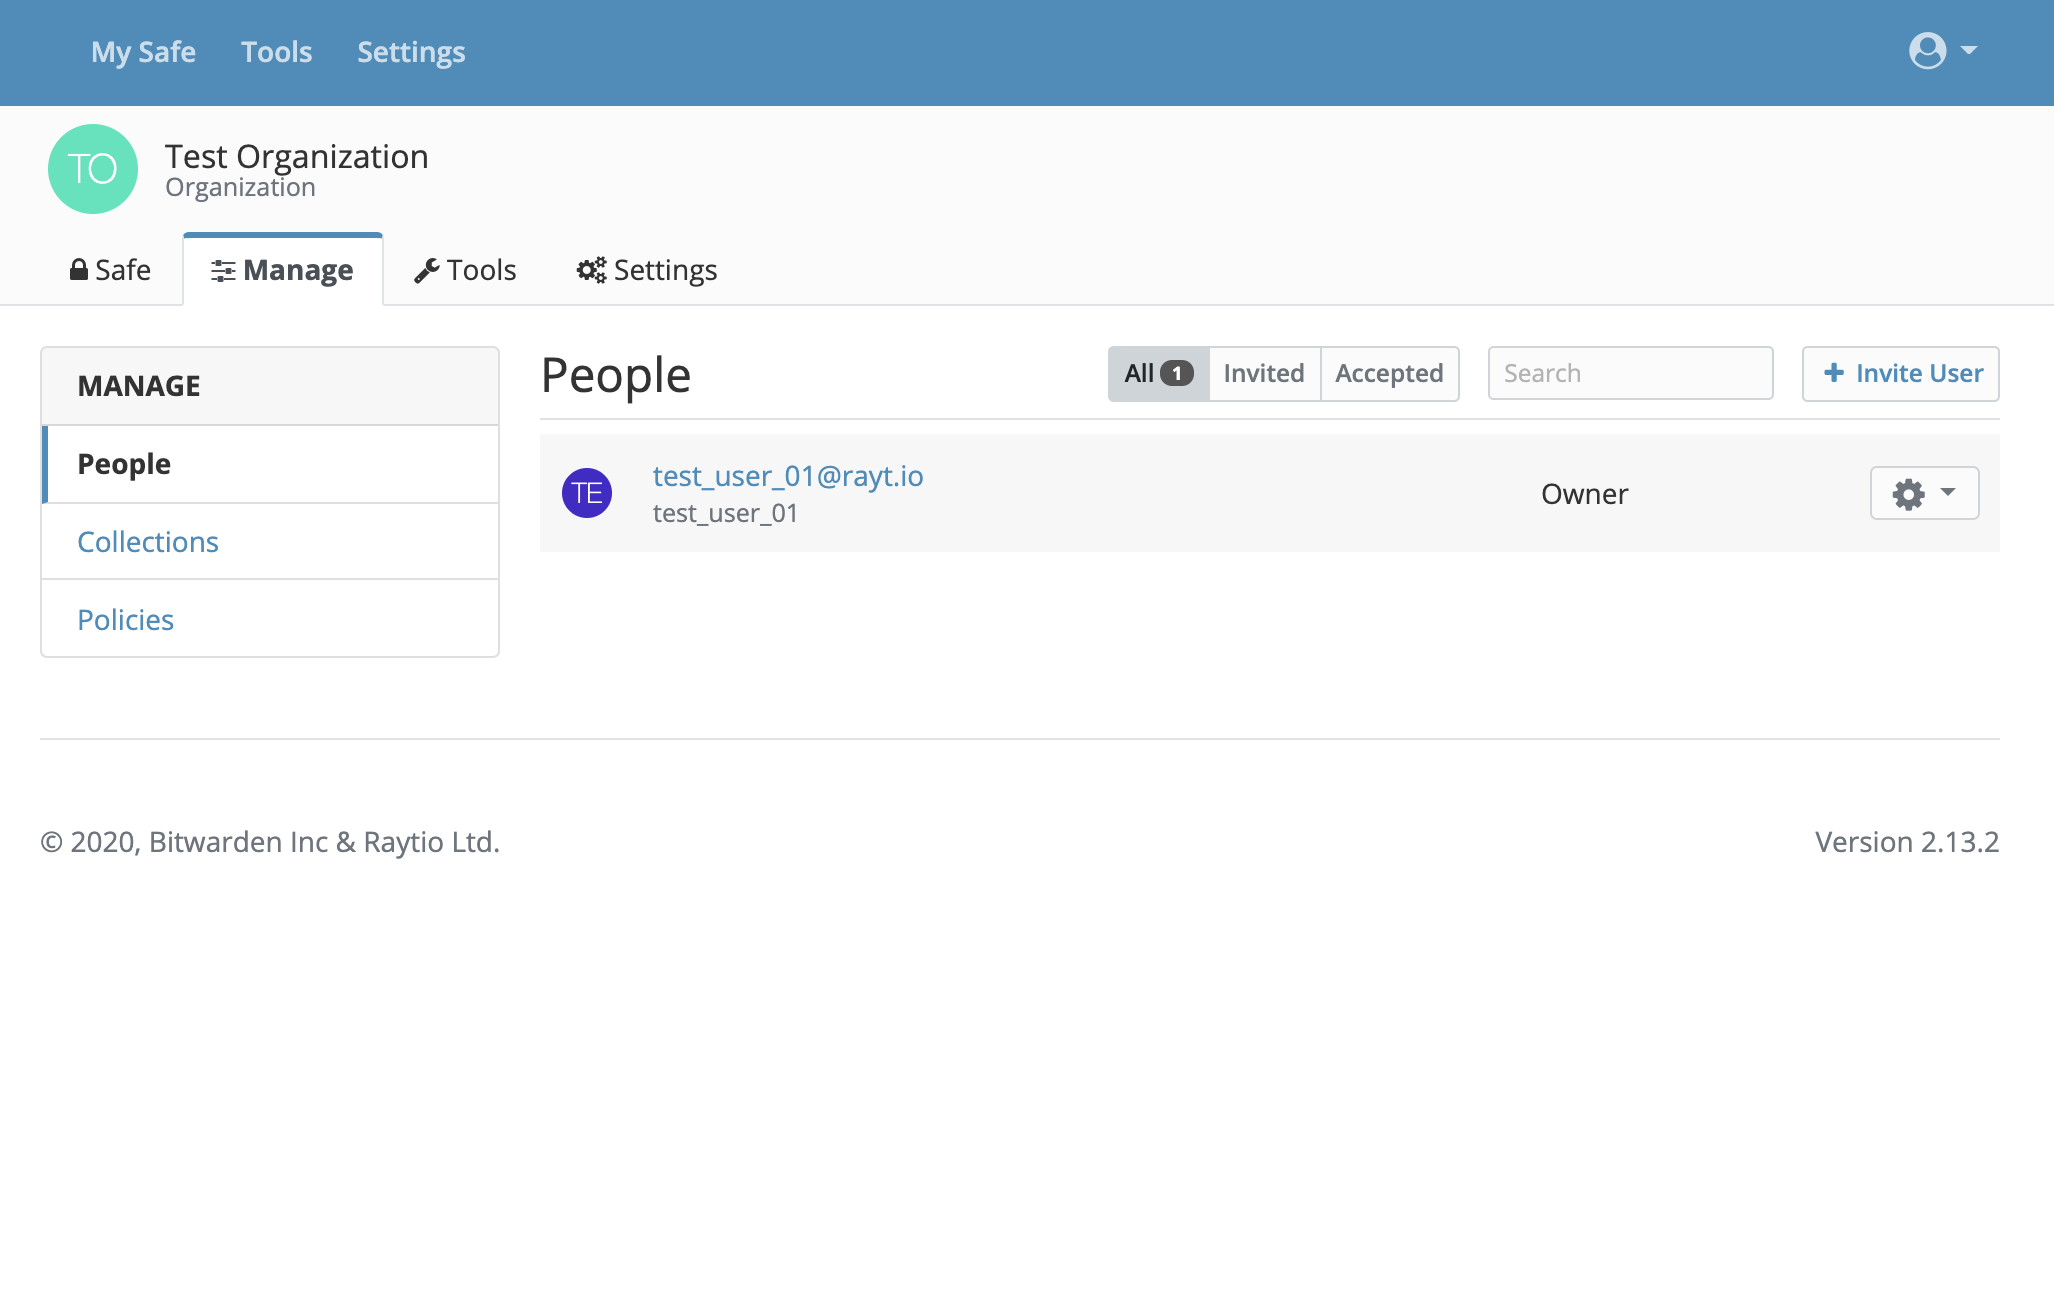 Adding a user
When adding a new user to the Organization you can set the User Type and Access Control. We also have the ability to choose all items access, or selected collections access based on specific Collections, as well as read-only access. Read-only is helpful to share logins or secure information but not enable Users to change it.
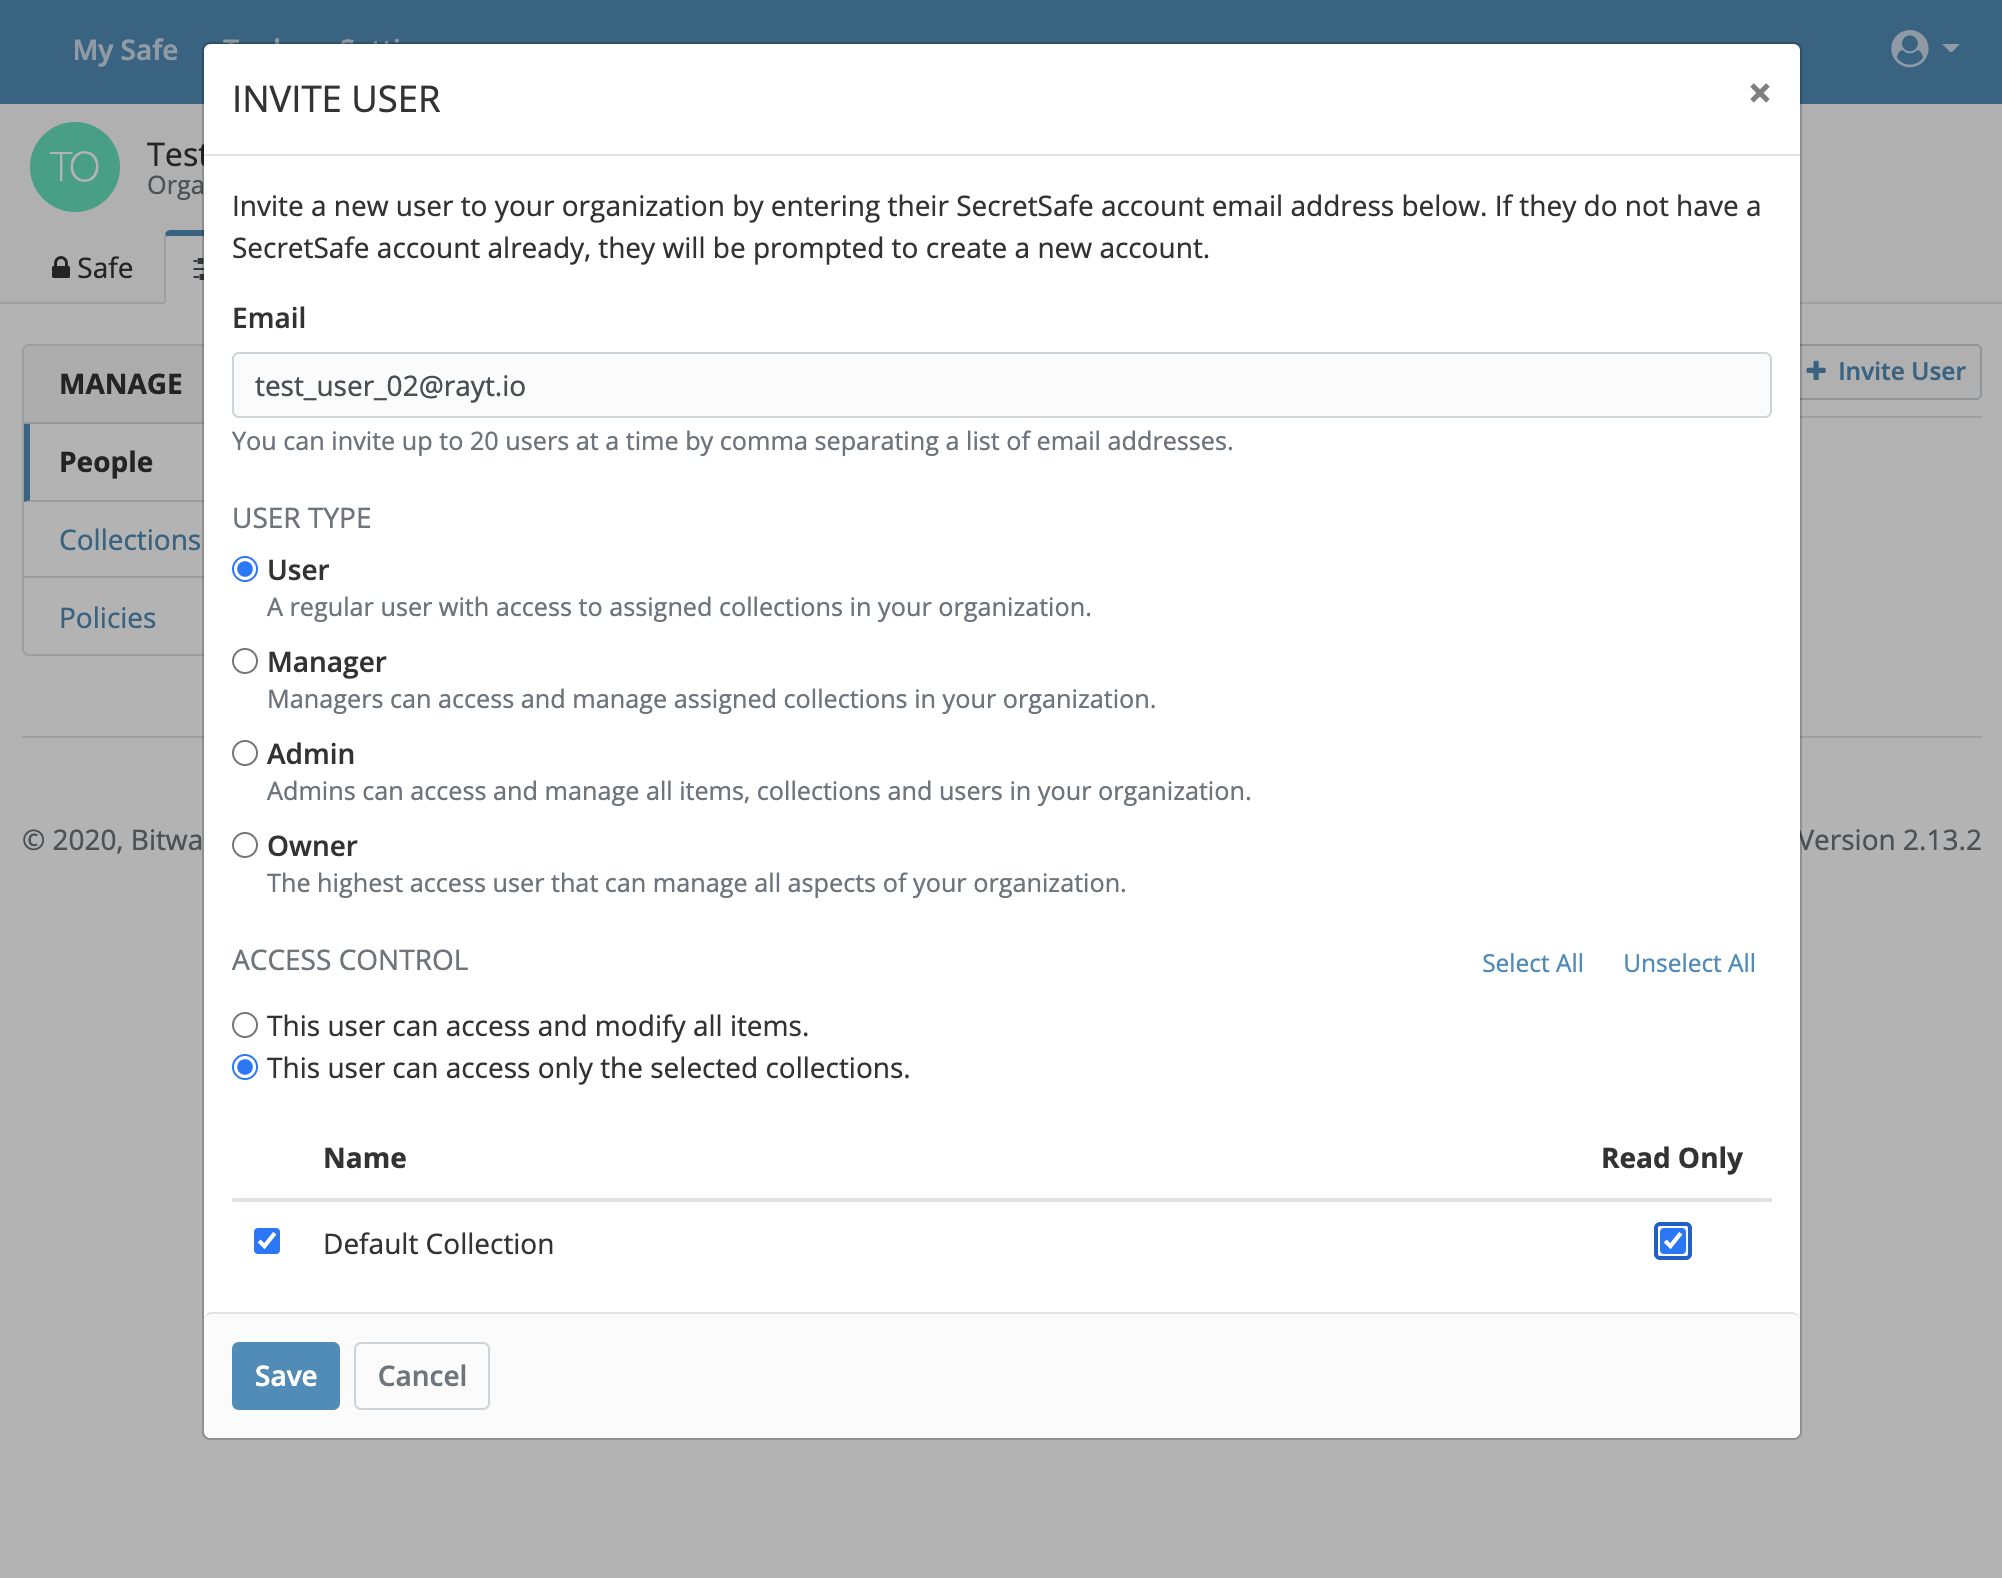 Selecting the User Type and Access Control
Once User 2 has been invited, they will receive an email invitation to join the Organization and their status will be reflected in the dashboard.
 Inviting User 2
6. Accepting the Invitation
To ensure a trusted security relationship, User 2 must accept the invitation, and then User 1 must accept the User 2 into the Organization. This sequence is imperative to ensure the highest level or security.
When User 2 accepts the invitation they will receive a message:
Invitation Accepted You can access this organization once an administrator confirms your membership. We’ll send you an email when that happens
Back at the Organization administration console, User 1 will see the accepted invitation, and have the ability to confirm that user.
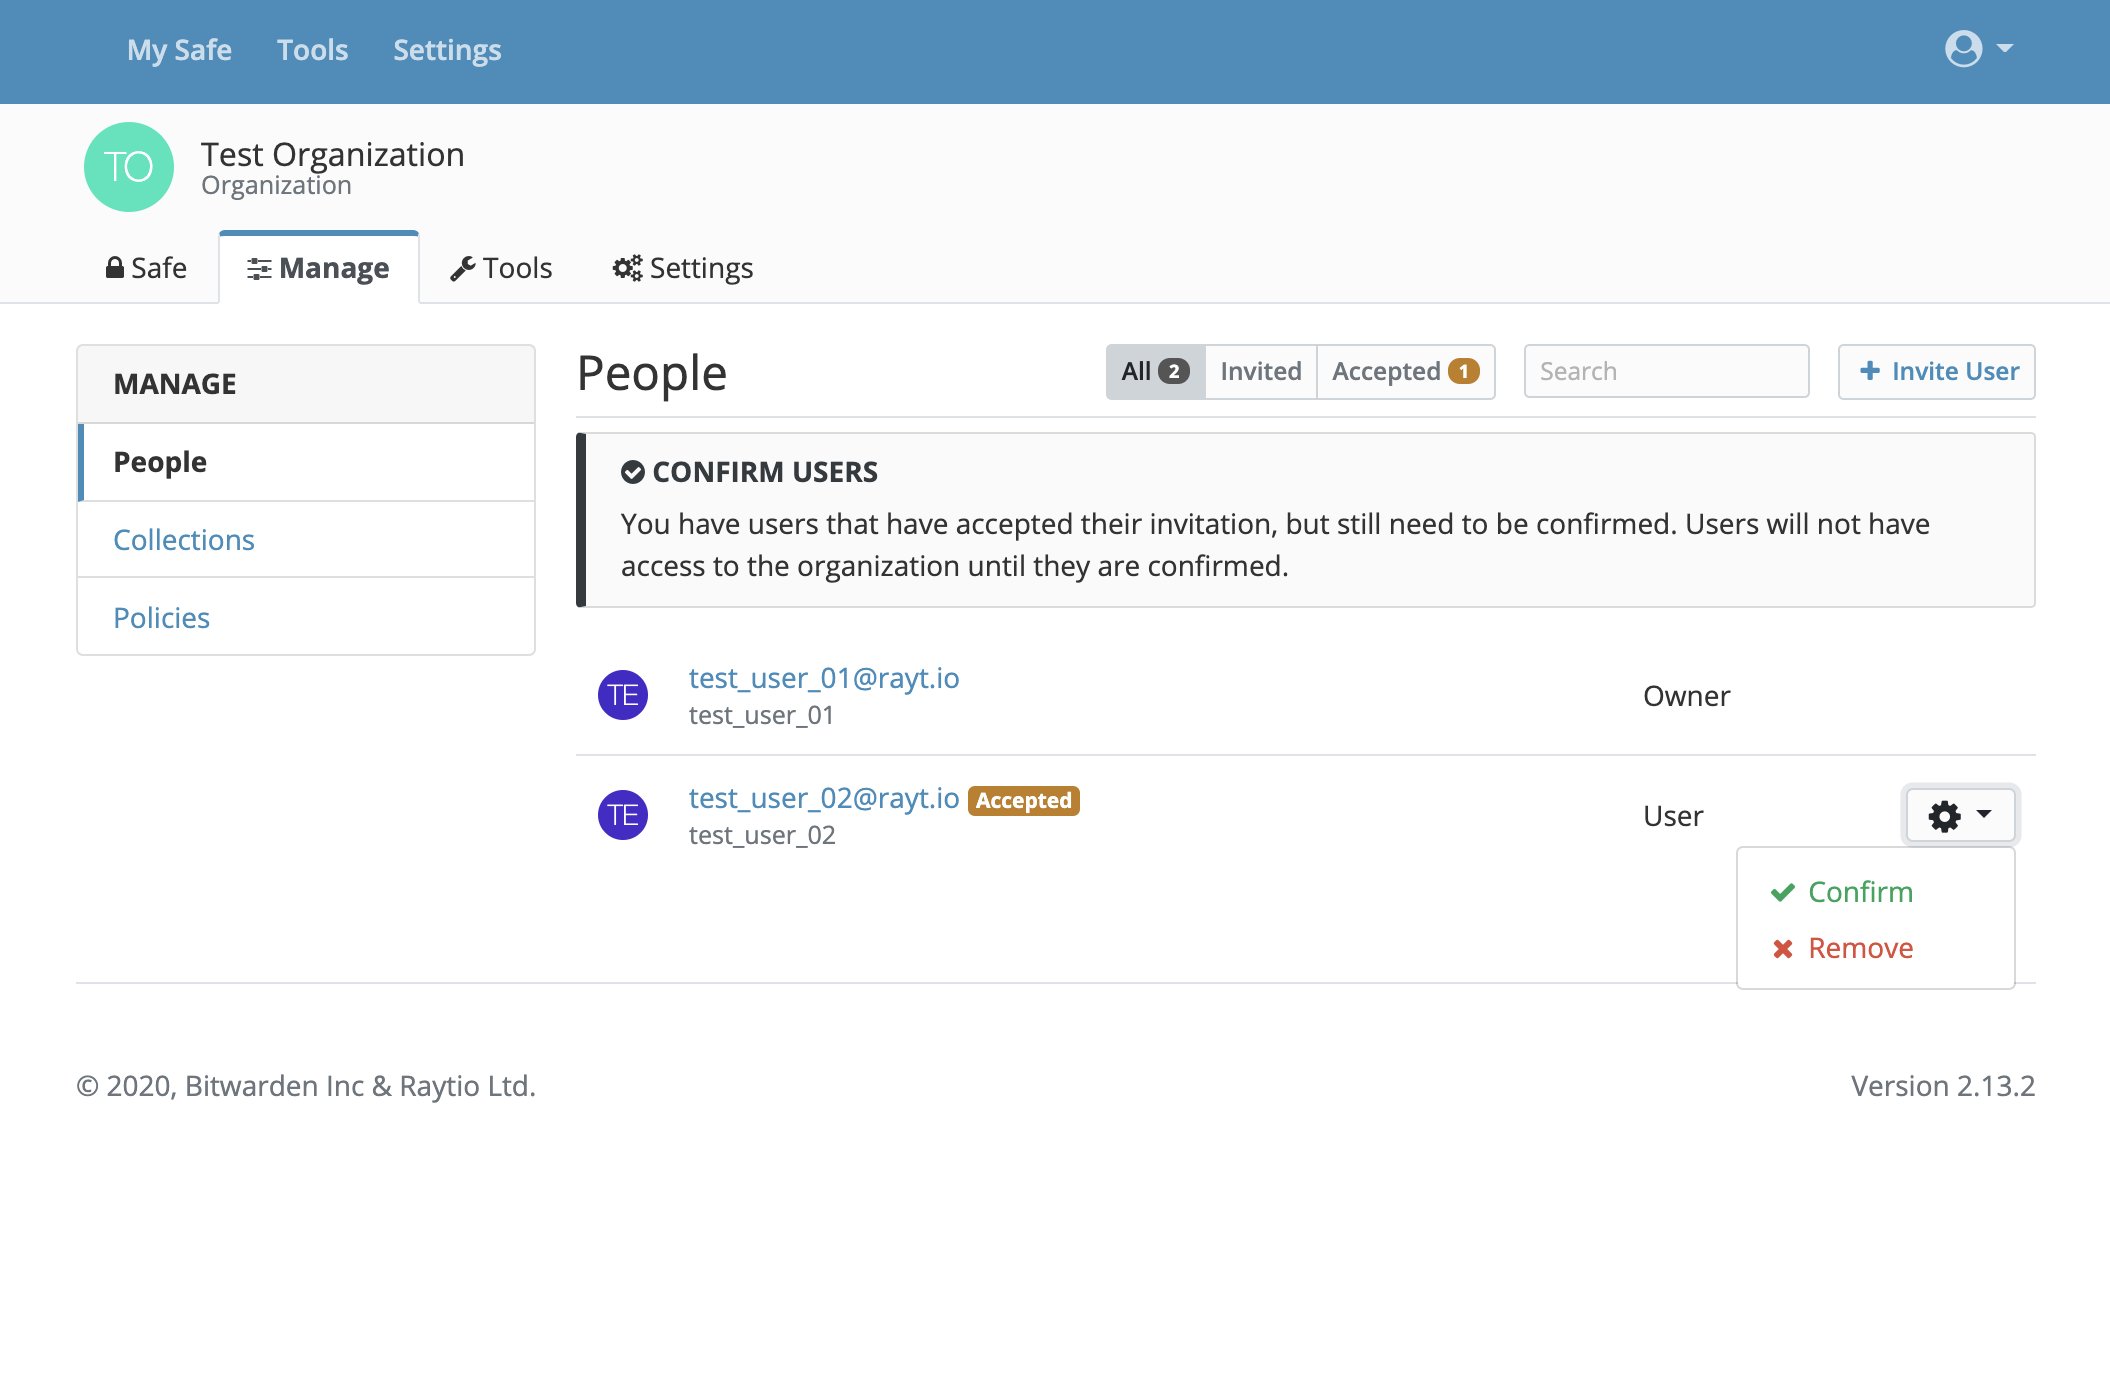 Confirming users with accepted invitations
Keeping with the trusted security model, further confirmation on a unique fingerprint phrase is built into the exchange. For more information on this step visit What is my account's fingerprint phrase?
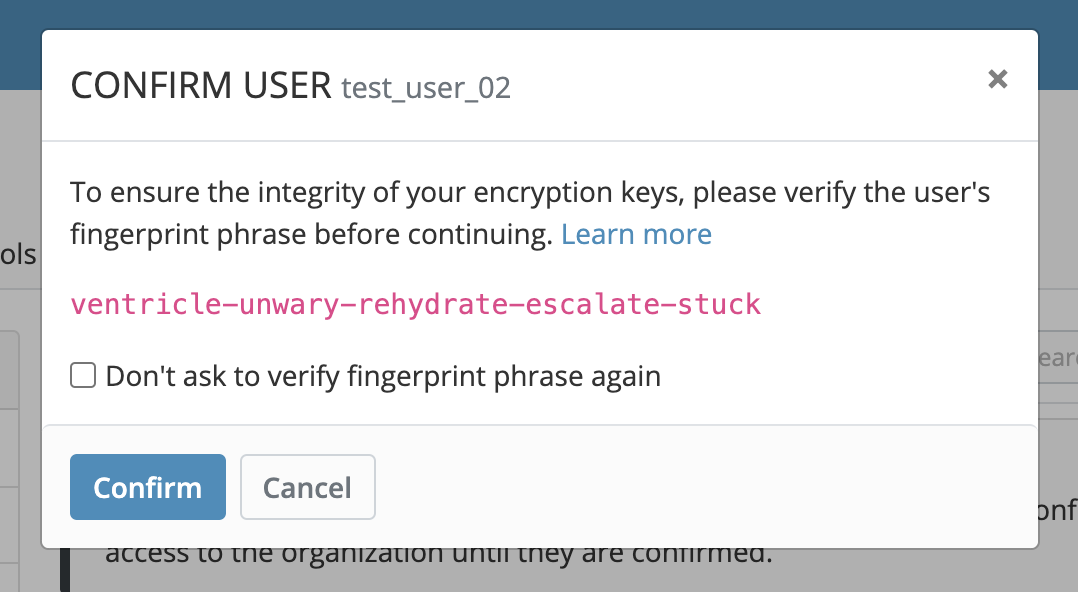 Confirming the fingerprint phrase
Once the confirmation process is complete, User 2 will have access to the Default Collection we shared earlier. Since User 2 was only added as a User, their Organization Safe has a simplified view.
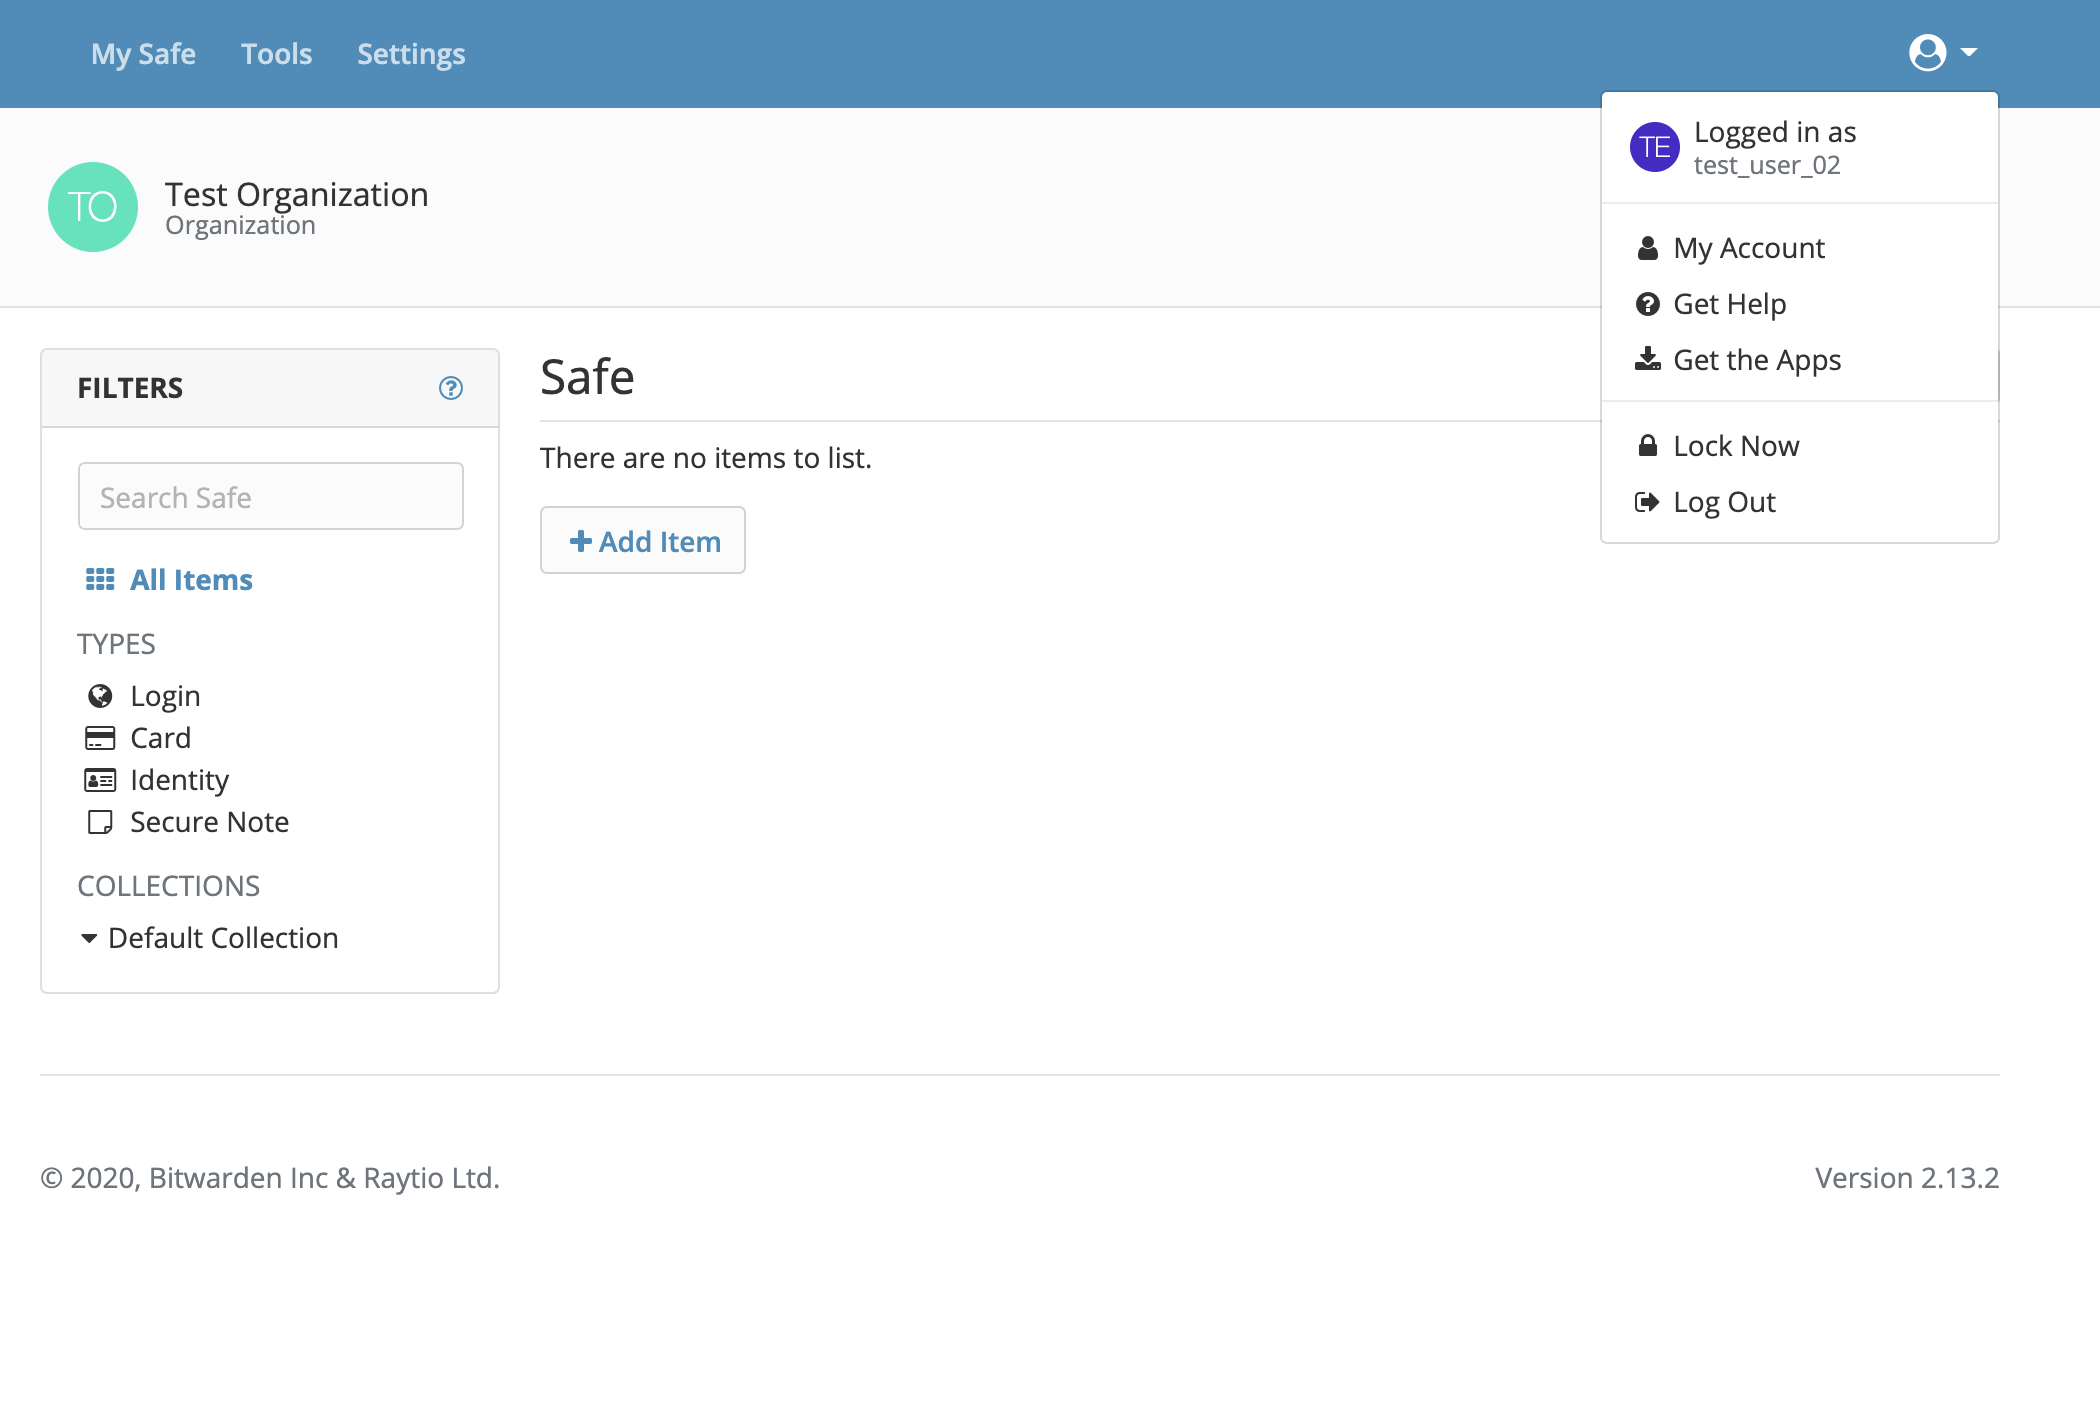 User 2 Organization Safe view
7. Sharing within an Organization
Sharing items in an Organization is simply a matter of creating them within the Organization Safe, or creating them in your Personal Safe and then sharing them with the Organization.
We’ll use the example of creating a Secure Note, but the same process applies to a Login or any other item in the safe.
 Adding an Item to an Organization
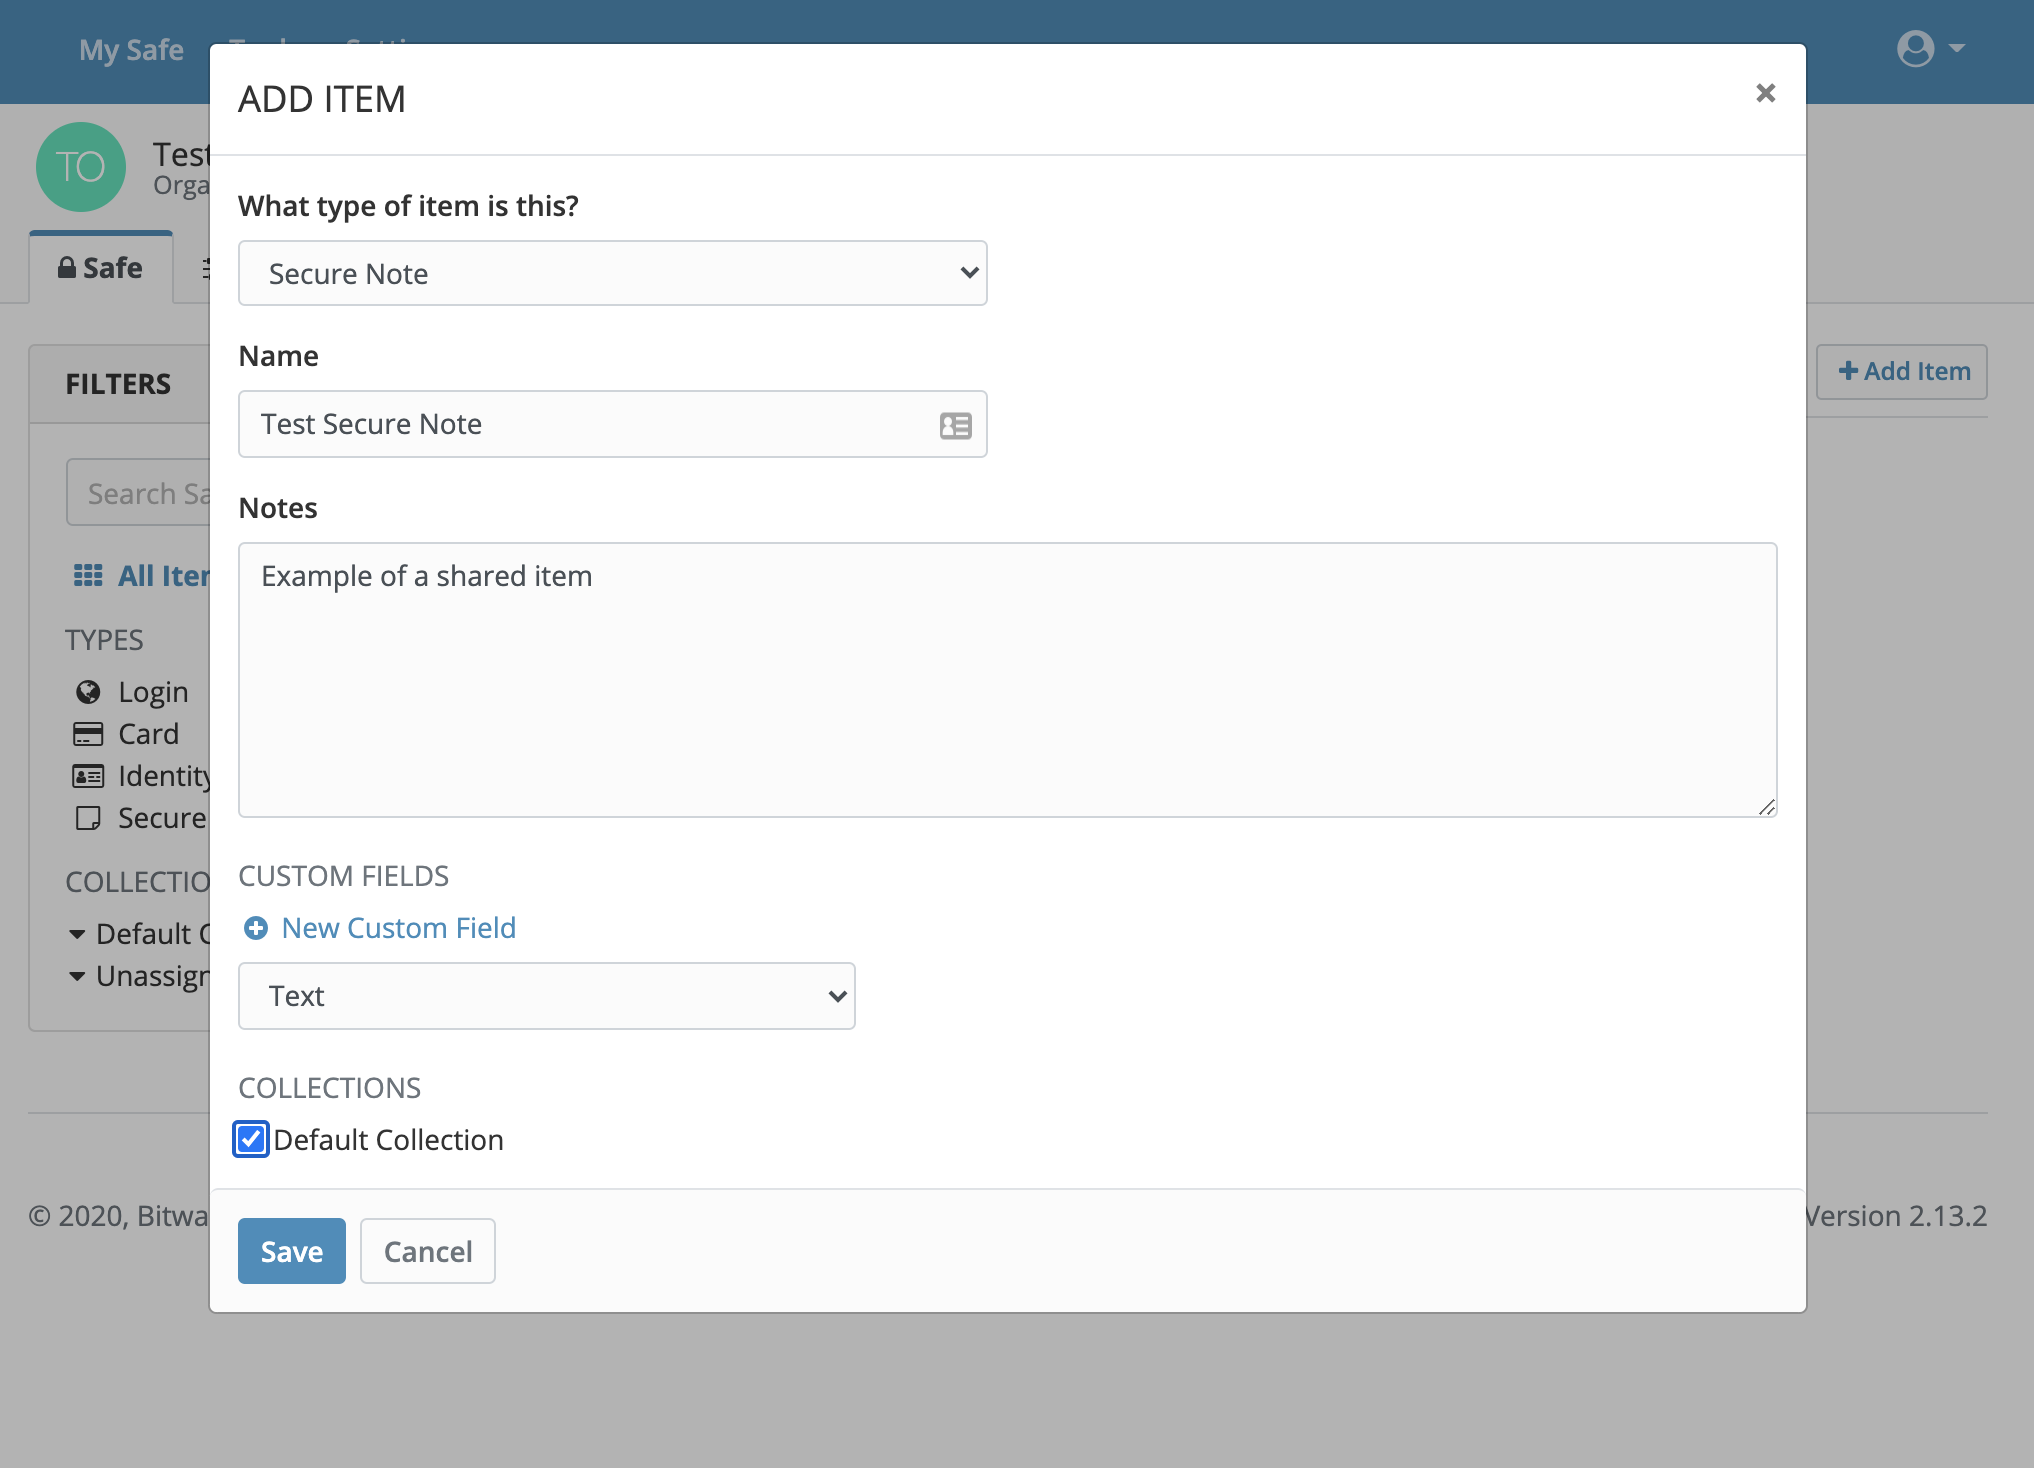 Adding a Secure Note
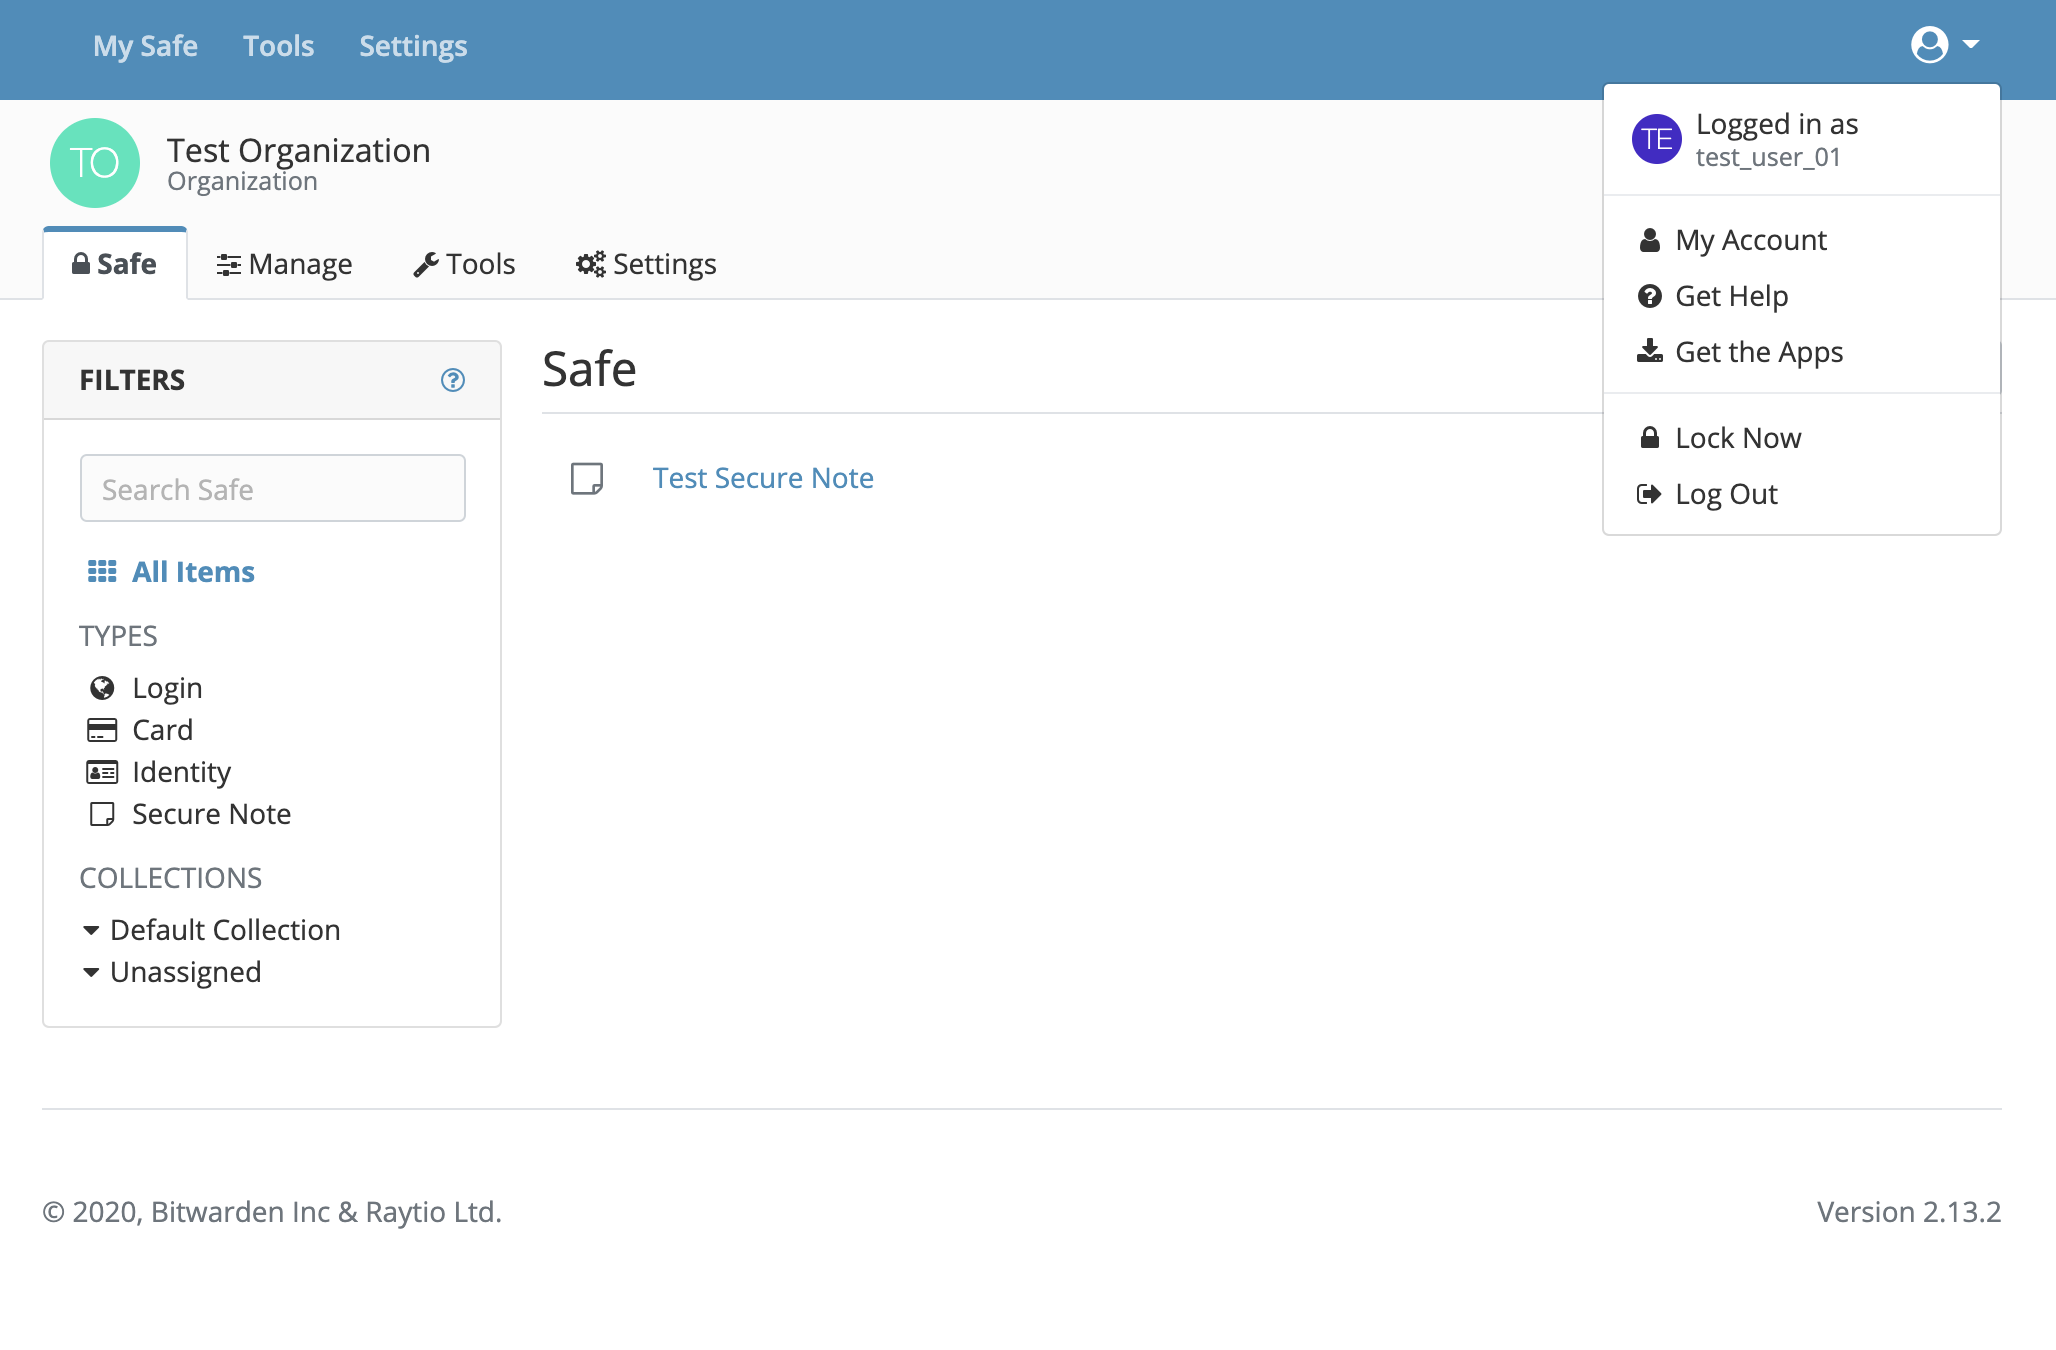 Secure Note for User 1
As expected, the same Secure Note is now viewable by User 2.
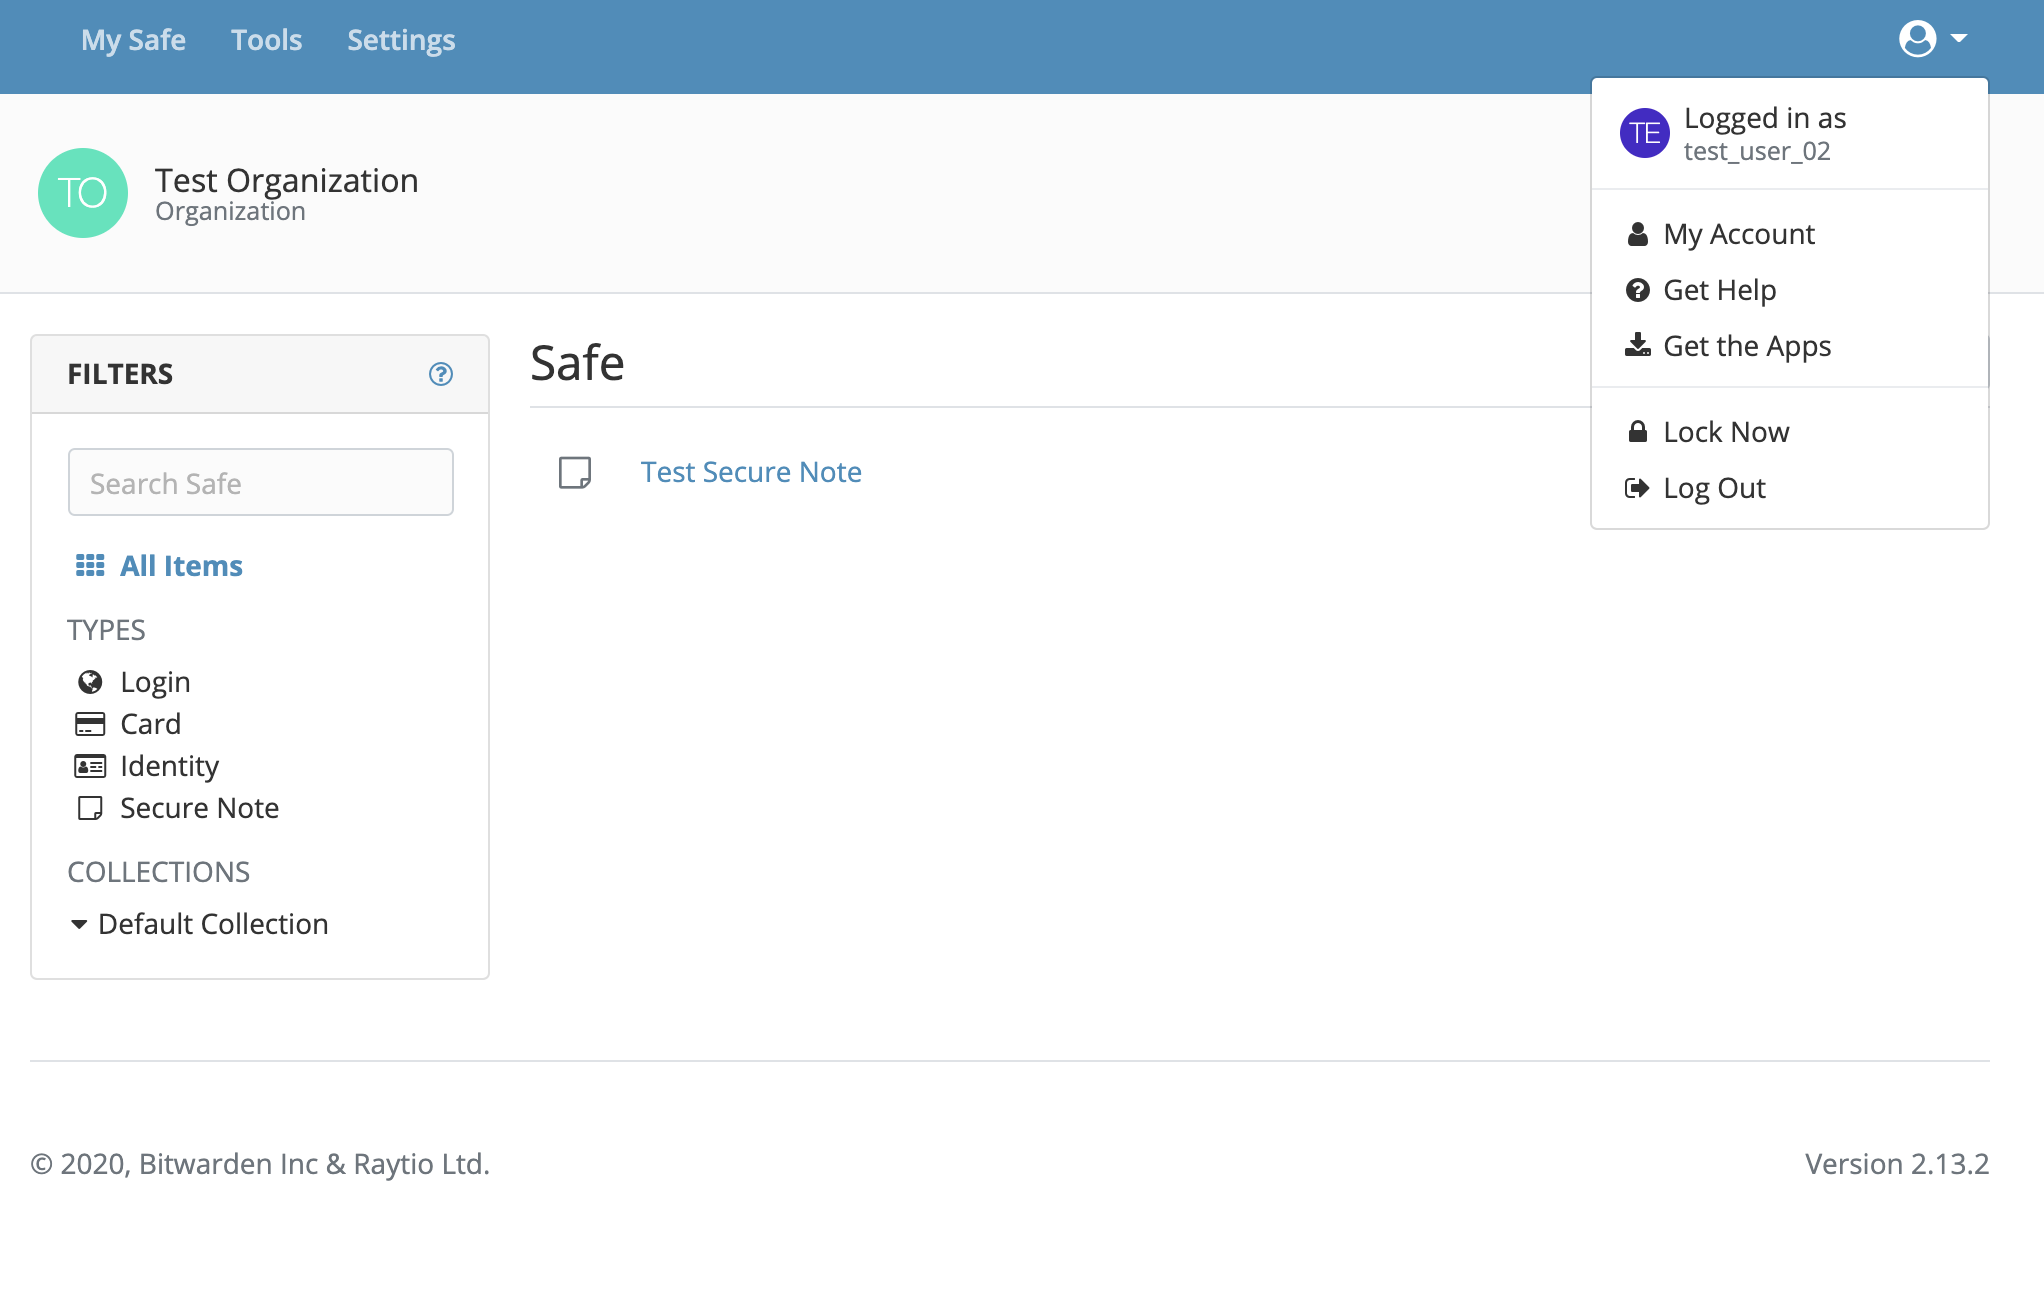 Secure Note for User 2
Congratulations! You have now set up sharing between two users with SecretSafe Organizations!
From here you can share any item using the collaborative capabilities of SecretSafe.
If by chance you have an item in your personal safe that you wish to share, you can choose that option too. Here we have two items seen in the User 1 Safe
- A secure note GOTEST Secure Note that has a sharing icon to the right of it indicating that is it being shared within a Collection
- A secure note User 1 Note for Sharing that is not part of Collection and only within the User 1 safe
However, that second note can easily be shared with an Organization by clicking the drop down menu next to the item.
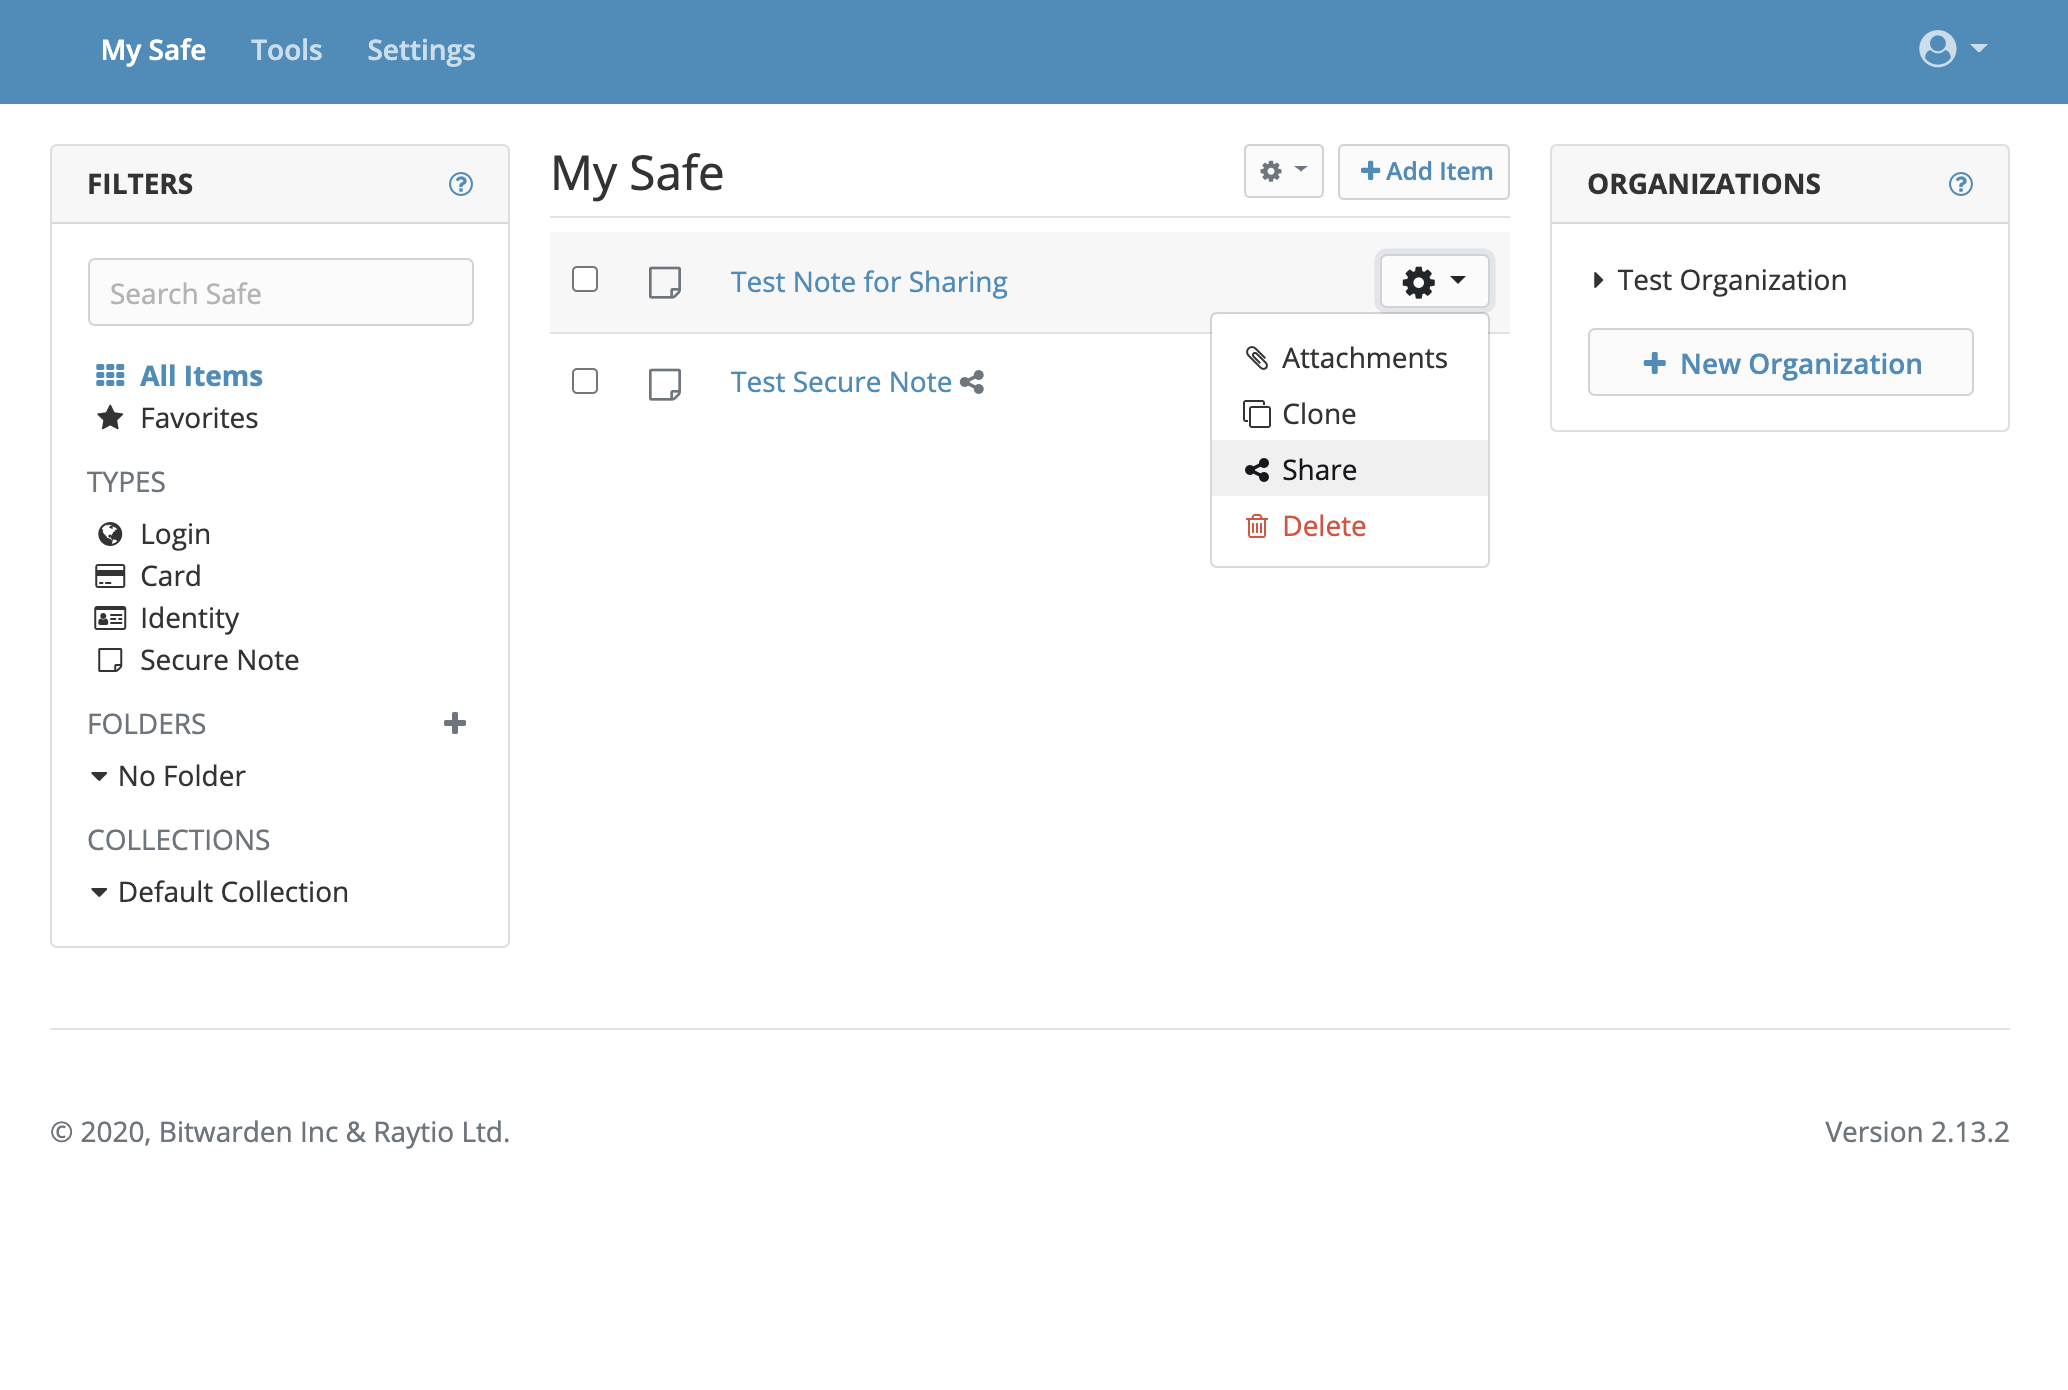 Sharing Items with Organizations
Continuing with SecretSafe
Now that you have mastered the basics of Organizations feel free to explore all of the possibilities sharing logins and more!